
Getting Started With Qt and Qt Creator on Linux
My recent blog post covered how to set up Qt and Qt Creator on a Windows 10 system. In this post I'll look at how to configure a Linux system for Qt desktop development.
Since the set up process on Linux is almost identical to that on Windows, rather than repeat the information I refer you to that blog. (Keep it handy, you'll need it later.) In this post, I'll cover the differences.
Assumptions and Prerequisites
For this example I will assume you want to install Qt 5.6.0 or 5.7.0 on a recent release of Ubuntu Desktop Linux. The procedure will be similar with other Linux distributions. As in the blog for Windows, we will use Qt's online installer.
It should be noted that many Linux distributions already have Qt and Qt Creator available as standard distribution packages. This is often the easiest way to set up a Qt development environment. On Ubuntu Linux, for example, you can install Qt Creator using the command:
$ sudo apt-get install qtcreator
A downside of this approach is that the versions of Qt and Creator packaged for your Linux distribution may not be the latest versions, and you are typically only offered one particular Qt version. Using the Qt online installer as I describe here will allow you to install the latest Qt release or one or more older releases, as well as install optional modules that may not be available as packages for your Linux distribution.
The Qt installer for Linux does not include a C++ compiler. You will need to separately install the GNU gcc compiler, make program, and other packages for software development. In addition, building graphical Qt applications requires OpenGL libraries and headers installed. On Ubuntu and other Debian-based Linux systems you can get OpenGL and the minimal set of development tools by installing the packages libgl1-mesa-dev and build-essential, i.e. by running this command:
$ sudo apt-get install build-essential libgl1-mesa-dev
This is the bare minimum needed for software development. You will typically also want to install the gdb debugger (packaged as gdb on Ubuntu) and possibly some optional tools like git, clang, etc. Qt Creator will make use of these if present and you can install them any time after installing Qt Creator, if desired.
Installation Steps
The first step is to download the online installer. You can directly download the latest installer from http://download.qt.io/official_releases/online_installers/
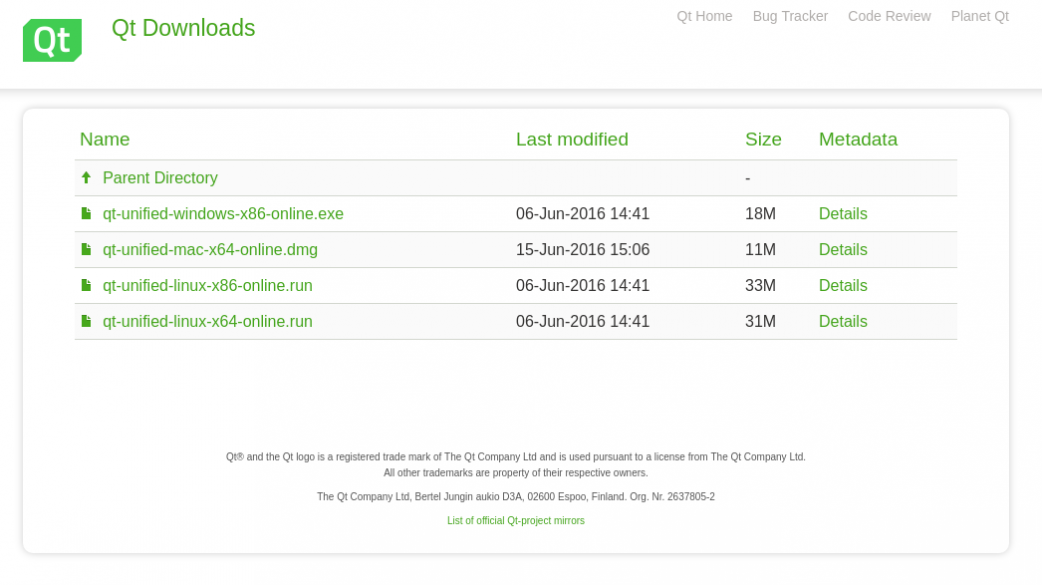
You need to select either the 32-bit or 64-bit installer, depending on the architecture of your system. The file qt-unified-linux-x86-online.run is the 32-bit installer and qt-unified-linux-x64-online.run is the 64-bit version. If you are unsure what architecture your system is running, you can run the Linux command arch and examine the output. An output of "i686" indicates 32-bit and "x86_64" is 64-bit on Intel-compatible systems.
Select and download the appropriate installer. Your web browser probably won't let you directly run it until you make the file executable. You can do that by opening a terminal window, navigating to the downloads directory, and using the chmod command. Here is an example:
$ cd ~/Downloads
$ chmod a+x qt-unified-linux-x64-2.0.3-1-online.run
You are now ready to run the installer. You have two options. If you run it as a normal user, it will be installed in the current user's home directory, making the install suitable for use only by the user who installed it. If you run the installer as root, it will be installed globally and be available to all users on the machine.
For the per user install, the default installation will be a subdirectory called Qt in the current working directory. For the global install, the default location is /opt/Qt.
Determine whether you want to install per user or global and then run the installer. For a per user install, just run it as the current user, e.g.
$ ./qt-unified-linux-x64-2.0.3-1-online.run
For the global install you can run it as root using the sudo command, e.g.
$ sudo ./qt-unified-linux-x64-2.0.3-1-online.run
The installer should now launch. The steps will be the same as on Windows. The previous blog post provided screen shots and described each step in the installer process in detail.
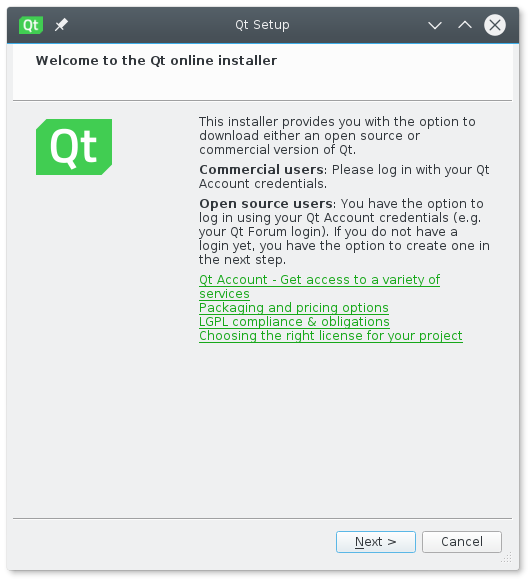
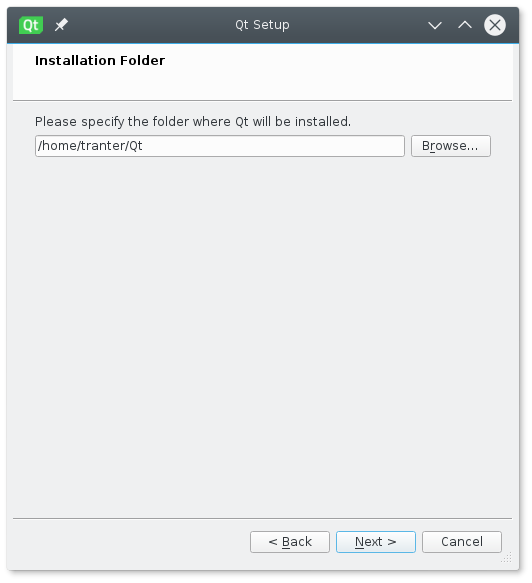
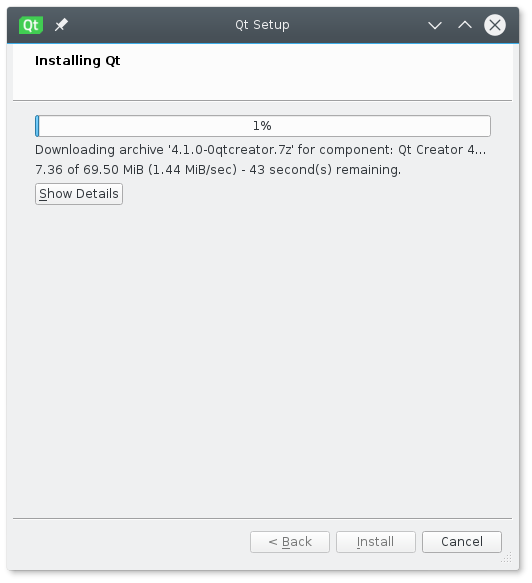
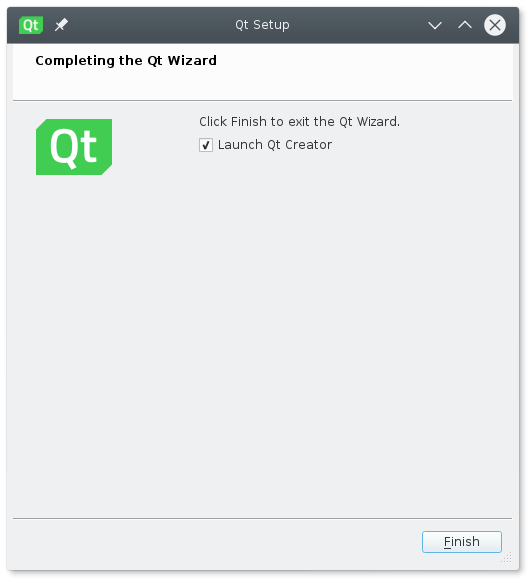
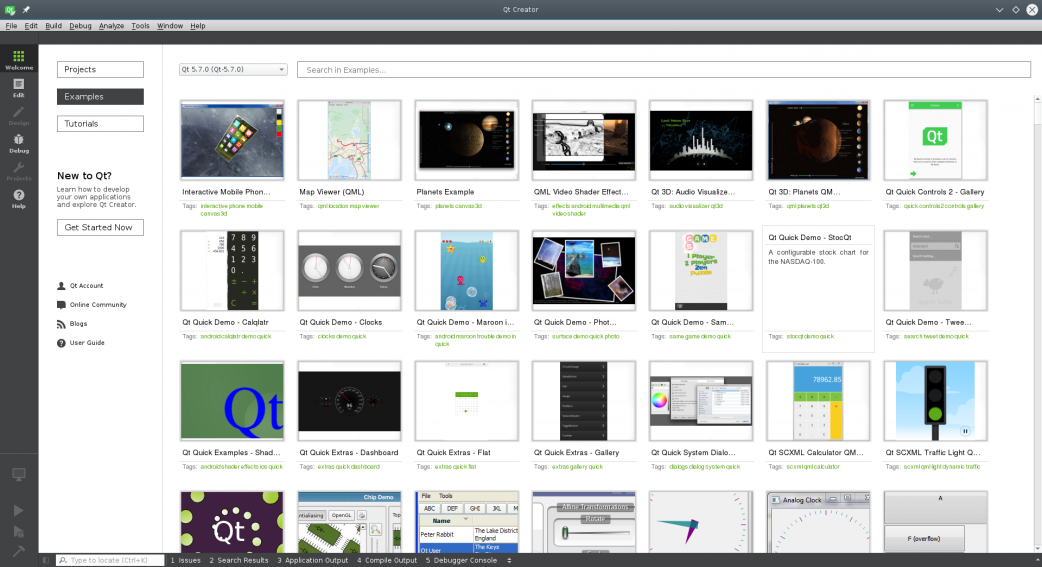
Once done, you can launch Qt Creator.
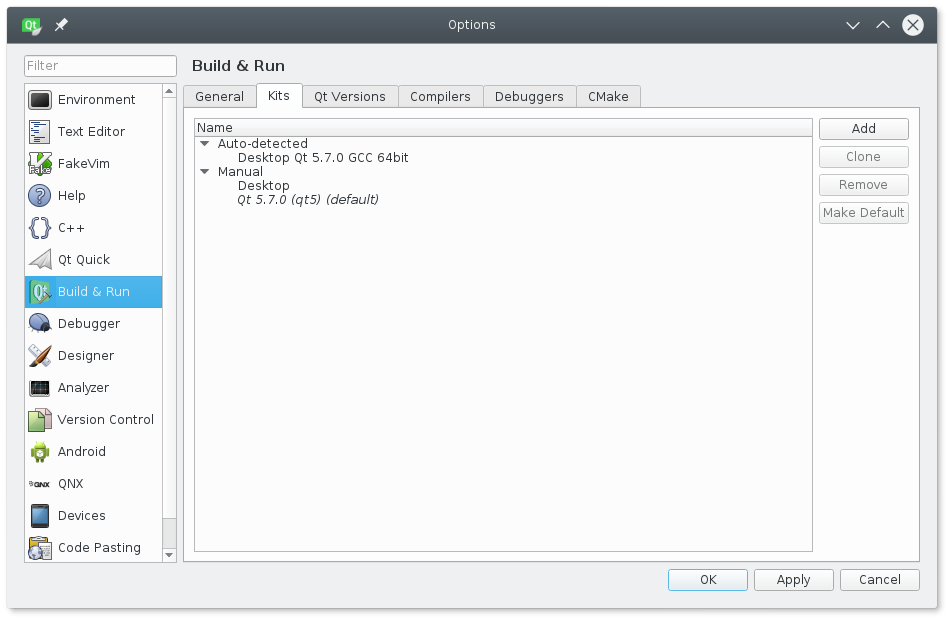
You should check that it correctly set up at least one auto-detected kit, compiler, Qt version, and debugger (if present):
As I suggested in the other blog, this would be a good time to create some sample projects to test your installation. Use the New Project Wizard and confirm that you can create the project, build it and run the application. Testing both widget and QML-based projects is recommended.
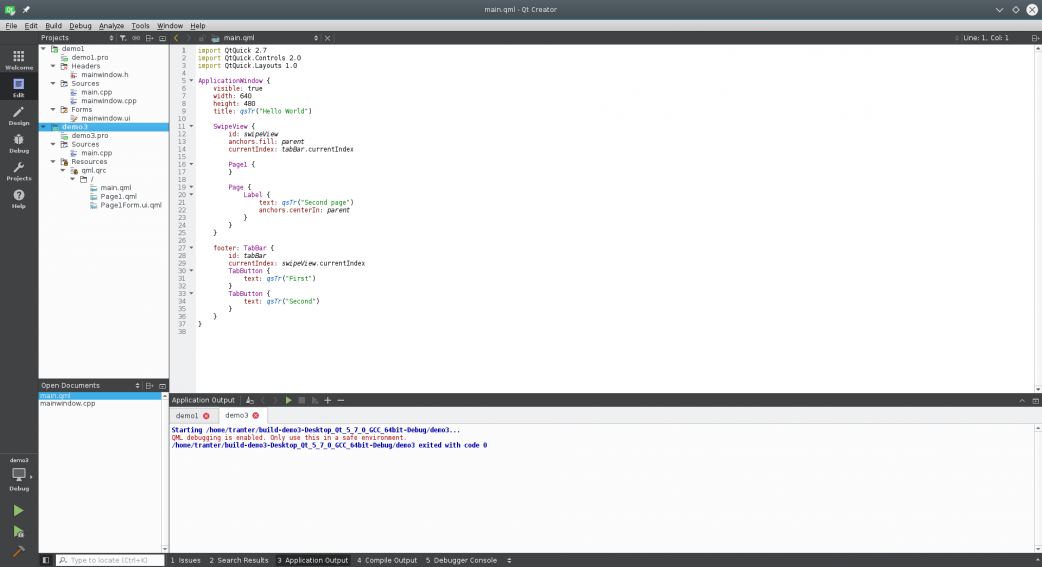
You are now ready for Qt software development!
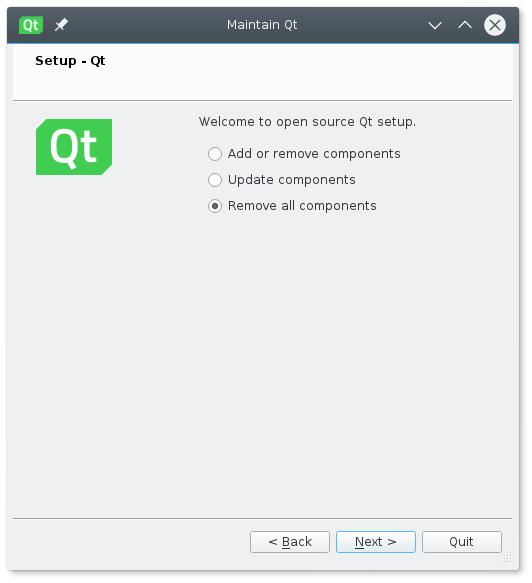
If you want to update, add or remove any components, you can run the maintenance tool, which can be found under the install directory as MaintenanceTool.
Summary
As on Windows, it's easy to install a Qt development environment on desktop Linux.
We didn't cover the Mac desktop platform, but it is much the same as Linux. However, you need to install Apple's XCode IDE to get the C++ compiler and other necessary development tools.
For the most flexibility, you may want to build Qt yourself from source code. This offers a number of advantages, including ability to run Alpha and Beta versions of Qt before they are officially released. I'll cover this in a future post.