
Yocto Quick Start
I've mentioned the Yocto (1) embedded framework in previous blog posts. Some people may have shied away from trying it because they have heard it has a steep learning curve. While Yocto is complex, it is very easy to get started and you can do so without any embedded hardware.
In this post I'll present a series of step-by-step instructions for building the Yocto-based Poky Linux distribution and running it under the Yocto emulator. The build environment will be Ubuntu desktop Linux but it should work much the same on any desktop Linux system. I've tested this on an Ubuntu 14.04 system but it will also work on the newer 16.04 release, although you may see a warning from Yocto's bitbake tool that this platform has not yet been validated as working.
Step-By-Step Procedure
You may need to install some packages. On a reasonably pristine Ubuntu system the packages I needed to install are listed below. You may have some or all of these installed already, but this command will install them if needed:
$ sudo apt-get install gawk wget git-core diffstat unzip texinfo gcc-multilib build-essential chrpath socat libsdl1.2-dev xterm
On a Linux system other than Ubuntu, the package names and the command to install them will probably differ.
We'll start by checking out the Poky Linux project from the Yocto project's git server. To keep the example simple we'll build everything from a top-level poky directory:
$ cd ~
$ git clone git://git.yoctoproject.org/pok
$ cd poky
This initial git checkout will be around 100 MB of files. After going into the checked-out project we will switch to the git branch for the krogoth release of Poky Linux, which was the most recent release at the time I wrote this:
$ git checkout -b krogoth origin/krogoth
We now need to source a script to set some environment variables and the search path for Yocto commands like bitbake:
$ source oe-init-build-env

### Shell environment set up for builds. ###

You can now run 'bitbake <target>'

Common targets are:
    core-image-minimal
    core-image-sato
    meta-toolchain
    meta-ide-support

You can also run generated qemu images with a command like 'runqemu qemux86'
Now, we're ready to create the Yocto build using the bitbake command:
$ bitbake core-image-sato
This will typically take a couple of hours or more to complete, even on a fast machine. Why so long? We're building an entire embedded Linux distribution from scratch, starting with downloading all the source files, from the Linux kernel to applications, building cross-compilation tools, and then cross-compiling them all. (Once the initial build is complete, later changes proceed much faster because we only incrementally rebuild what is needed.)
This will also require a lot of disk storage. On my system, the files under the poky directory take about 32 gigabytes of storage when the build has completed. If your build succeeds, you should eventually see output like this:
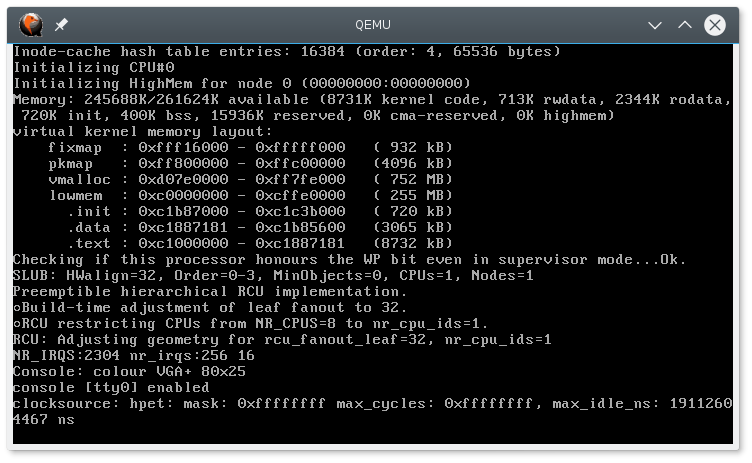
Loading cache: 100% |################################################################################################################| ETA:  00:00:00
Loaded 1302 entries from dependency cache.
NOTE: Resolving any missing task queue dependencies

Build Configuration:
BB_VERSION        = "1.30.0"
BUILD_SYS         = "x86_64-linux"
NATIVELSBSTRING   = "universal"
TARGET_SYS        = "i586-poky-linux"
MACHINE           = "qemux86"
DISTRO            = "poky"
DISTRO_VERSION    = "2.1.1"
TUNE_FEATURES     = "m32 i586"
TARGET_FPU        = ""
meta
meta-poky
meta-yocto-bsp    = "krogoth:aad7166704021d82ad3a5ec468552f8f10360d41"

NOTE: Preparing RunQueue
NOTE: Executing SetScene Tasks
NOTE: Executing RunQueue Tasks
NOTE: Tasks Summary: Attempted 5529 tasks of which 5525 didn't need to be rerun and all succeeded.
No currently running tasks (5385 of 5529)
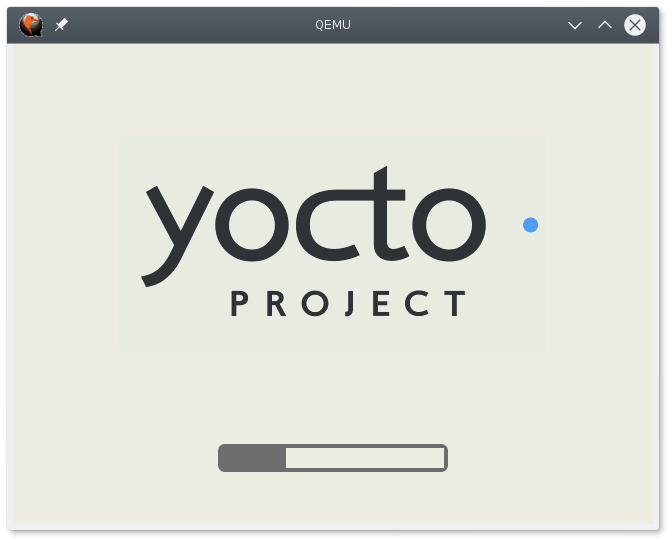
You can now run the image under the default target machine that we built it for -- the x86 emulator -- using this command:
$ runqemu qemux86
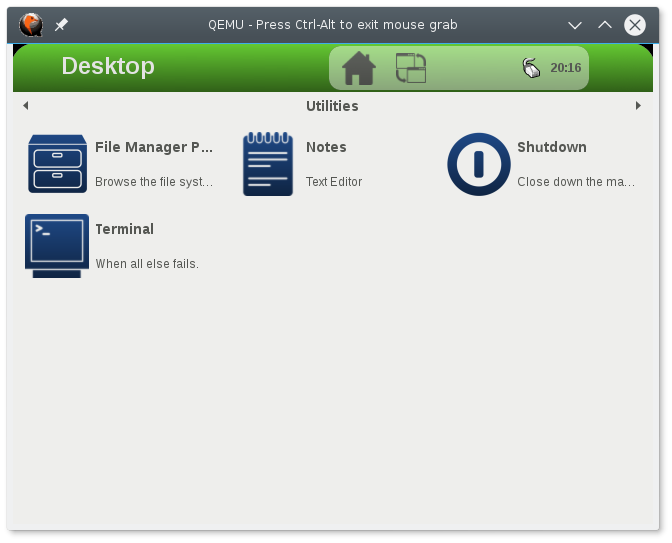
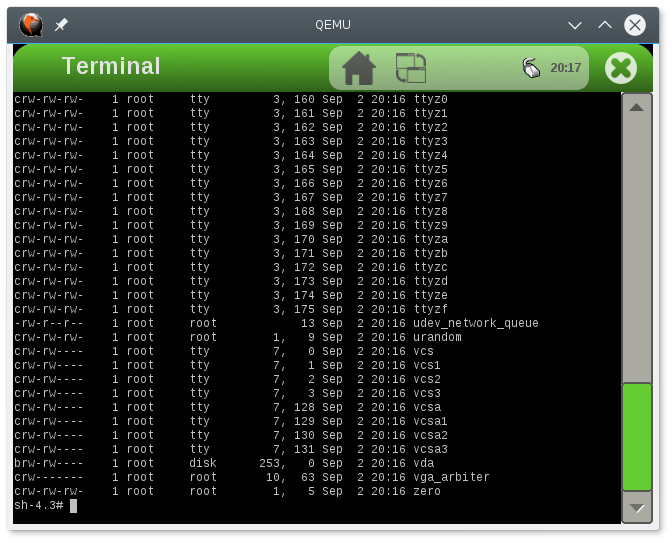
You will see a graphical emulator window open and boot up a Linux system, eventually showing a simple graphical desktop with some basic tools installed.
This emulates an x86-based system. If you edit the file conf/local.conf and uncomment the line MACHINE ?= "qemuarm", you can then rebuild (by running "bitbake core-image-sato" again) and run the ARM emulator using "runqemu qemuarm".
The ARM emulator is a little slower than the x86 but runs quite well on a reasonably fast machine and might be more representative of the embedded hardware you ultimately plan to use.
Summary
If you have a supported embedded board like a Beaglebone Black, you can use bitbake to build an image that can be installed and run on the board. The Yocto documentation site (2) has all the details.
I hope this simple guide has convinced you that it is easy to get started with Yocto, and that you can make some progress within just a few hours, most of which will be spent waiting for the initial download and compiling.
References
- Linux Foundation Yocto Project, website, last accessed 12 September 2016, www.yoctoproject.org
- Documentation for the Latest Release, Yocto Project website, last accessed 12 September 2016, www.yoctoproject.org/documentation