
Getting Started With Qt and Qt Creator on Windows
Feedback from our recent Qt for Beginners webinar series indicated a need for some basic tutorials for beginners. If you struggle with initially getting Qt set up for development with the Qt Creator IDE and a C++ compiler, this post is for you. I'll walk you step by step through the process of getting a Qt development environment running on Windows, providing lots of screen shots to guide you.
Assumptions and Prerequisites
For this example I'll assume you are running Windows 10. We will install the Open Source version of Qt 5.7.0 using the MinGW C++ compiler and the Qt Creator IDE. Installation should be similar if you use a different version of Windows or a different version of Qt. We will use the free MinGW compiler as it makes the setup easy, coming as part of the Qt install. You will need at least 5 GB of free disk space and an Internet connection in order to download the installer and Qt components. Let's get started!
ICS recommends Qt Commercial for support, maximum IP protection, and because we all should support the community. (The Qt Company offers a free 30-trial version of Qt Commercial.)
Installation Steps
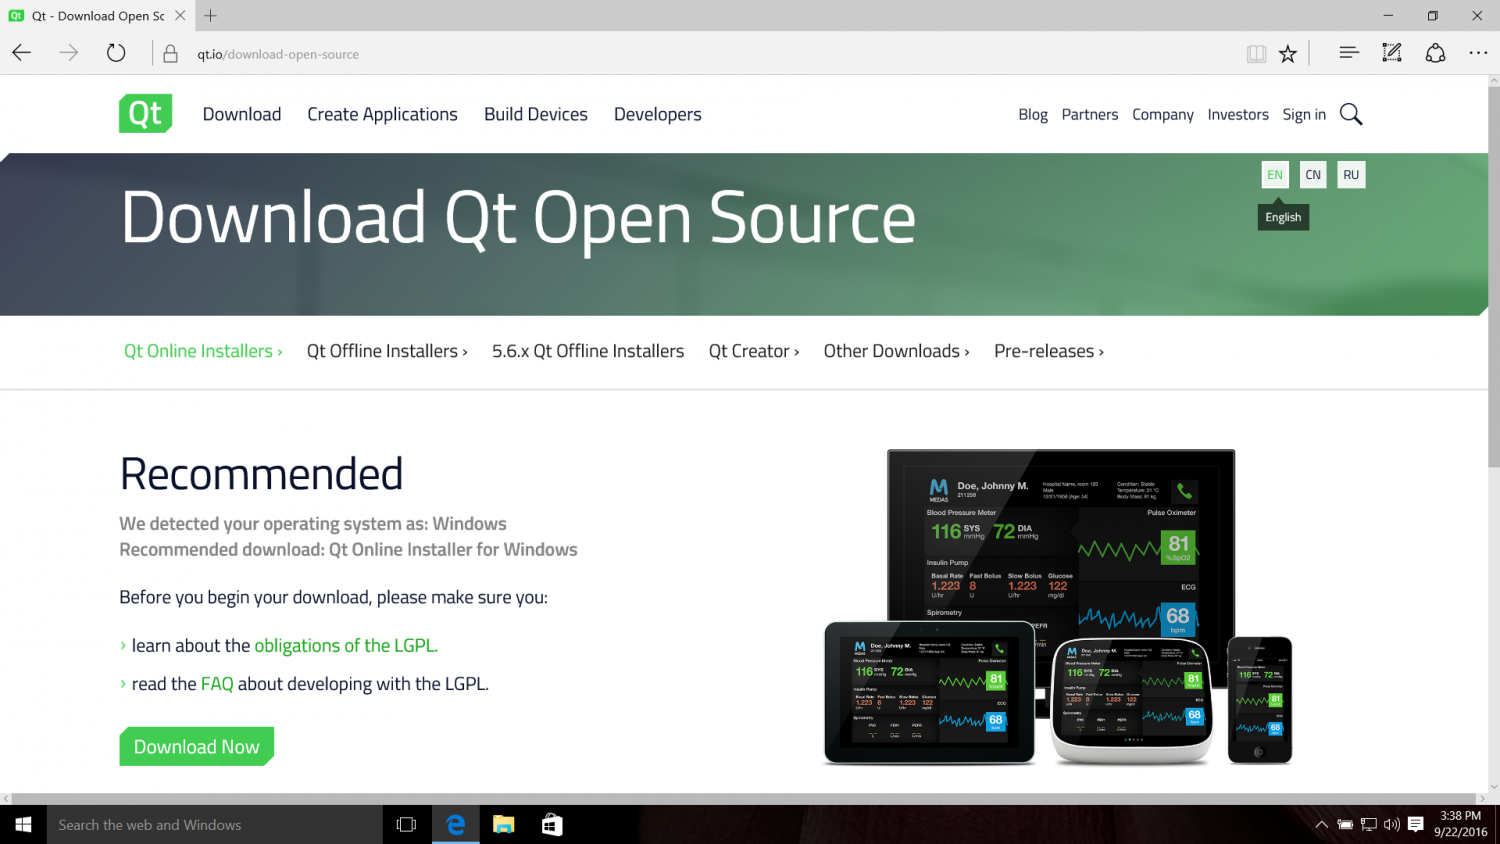
Fire up your web browser and go to http://qt.io. Click on "Download".

The website will ask you a few questions to determine whether you want the Open Source or commercial versions of Qt. To get the Open Source version select "Open source distribution under an LGPL or GPL license"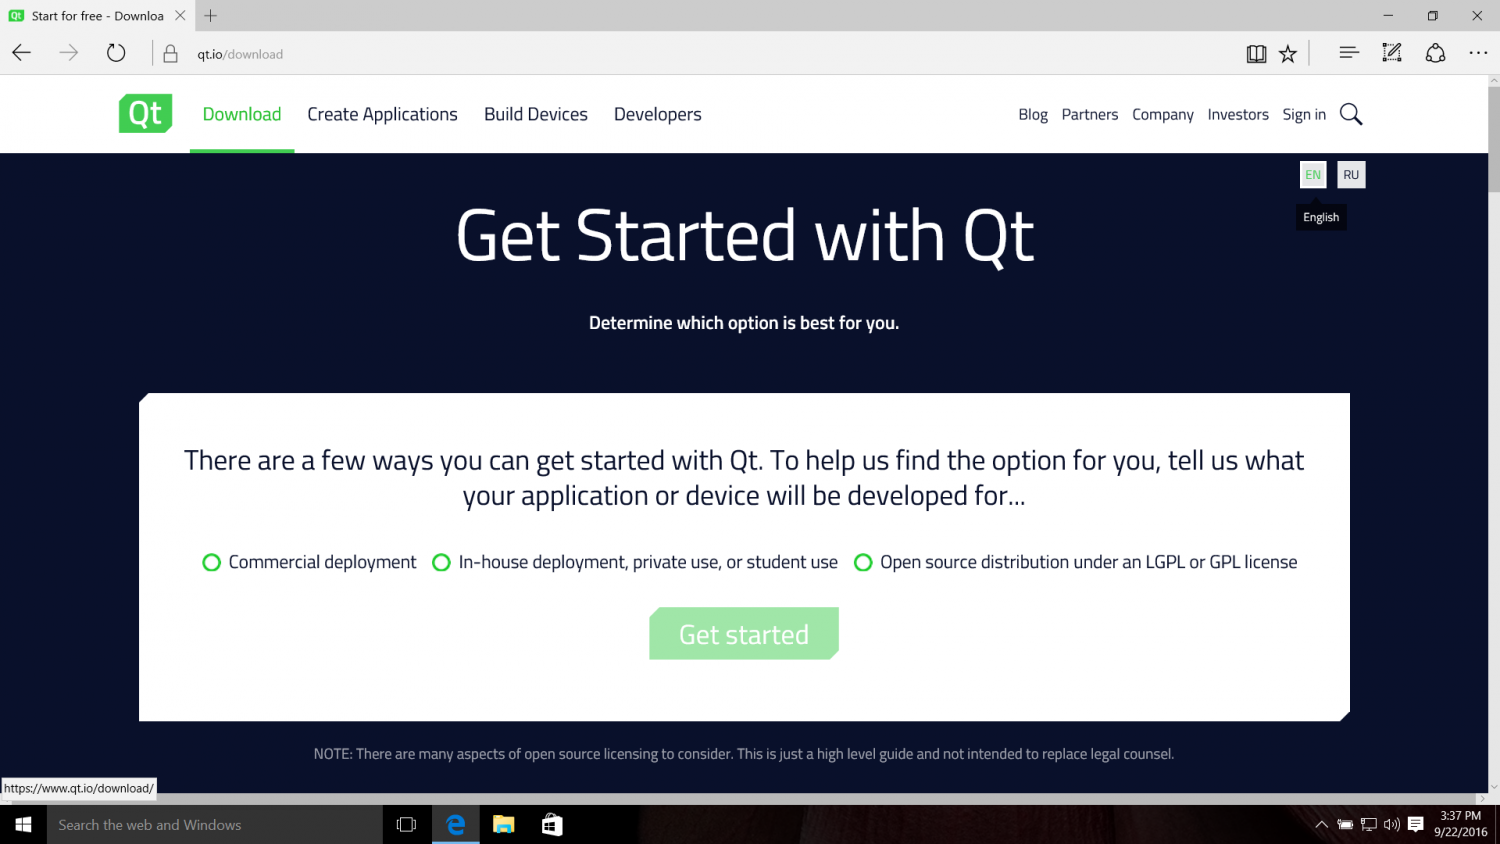
Say Yes to "Are you prepared to make your application source code publicly available?"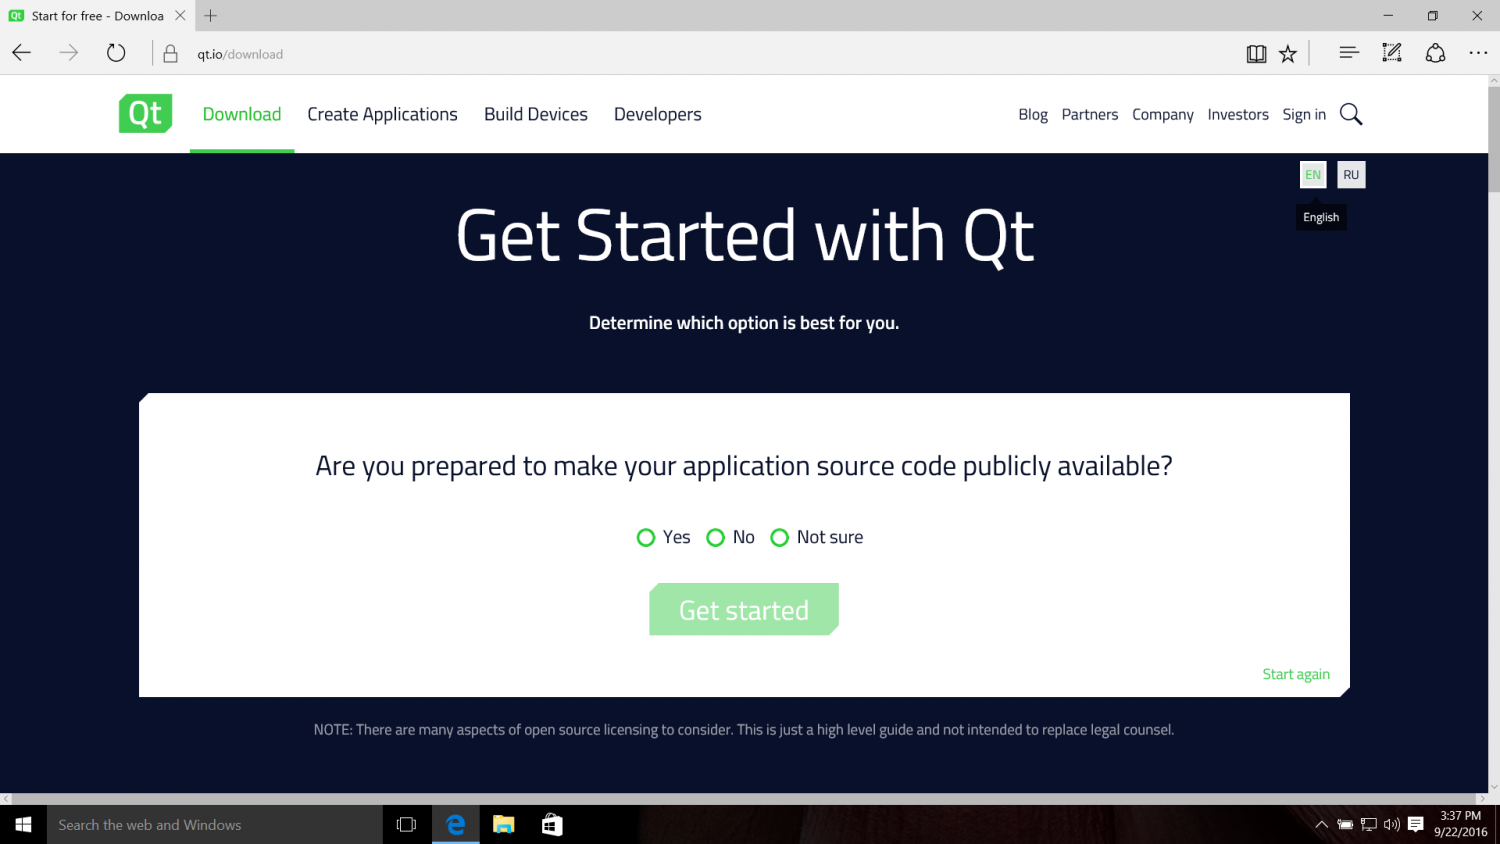
Say Yes to "Are you able to comply with the obligations of the LGPL v3 (or GPL v2/v3) and/or does your corporation allow open source usage?"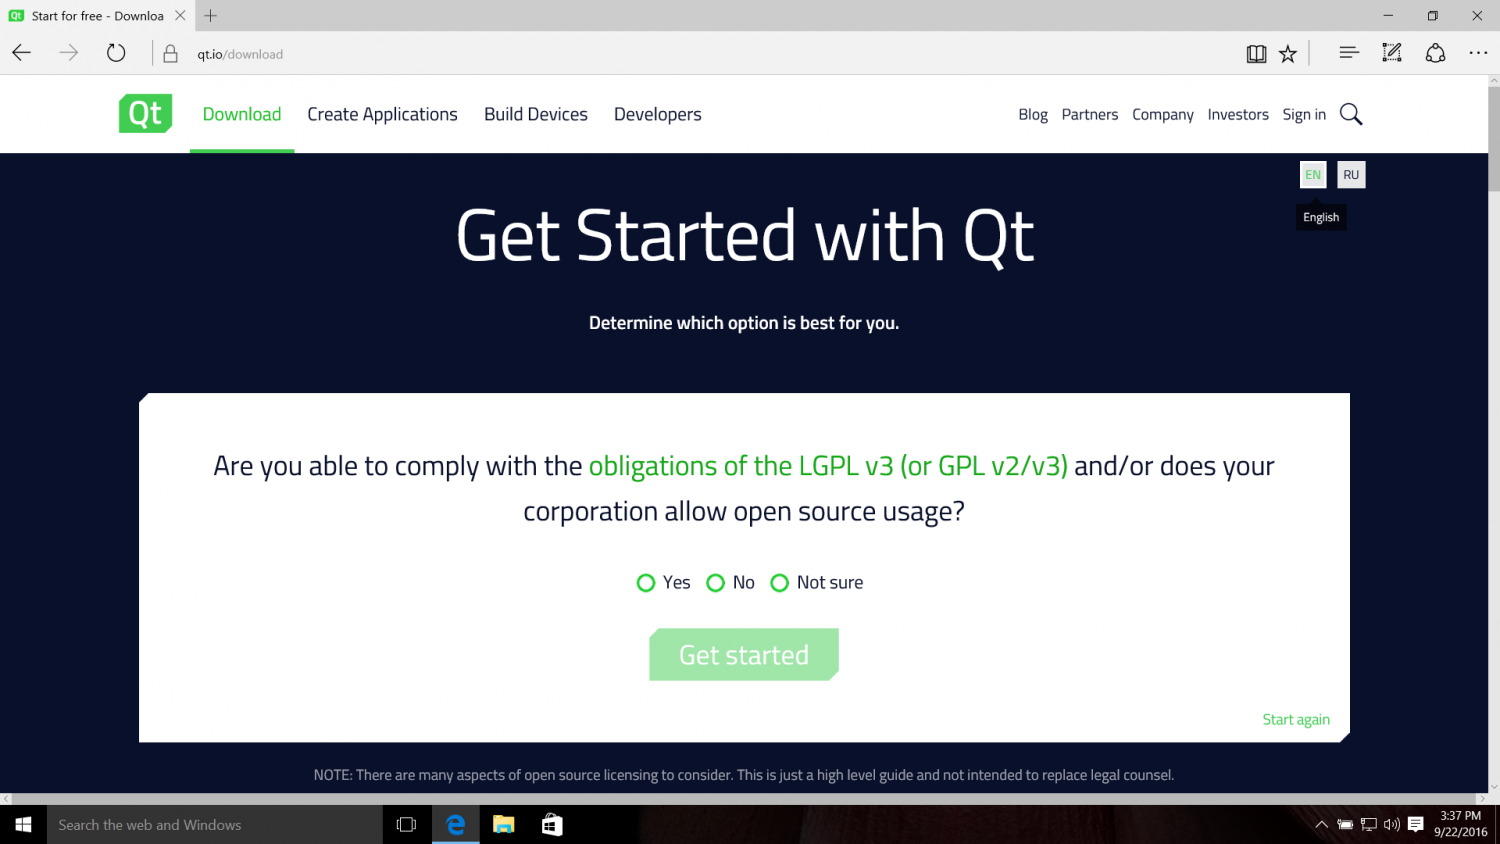
Then click on "Get started" and then "Download Now".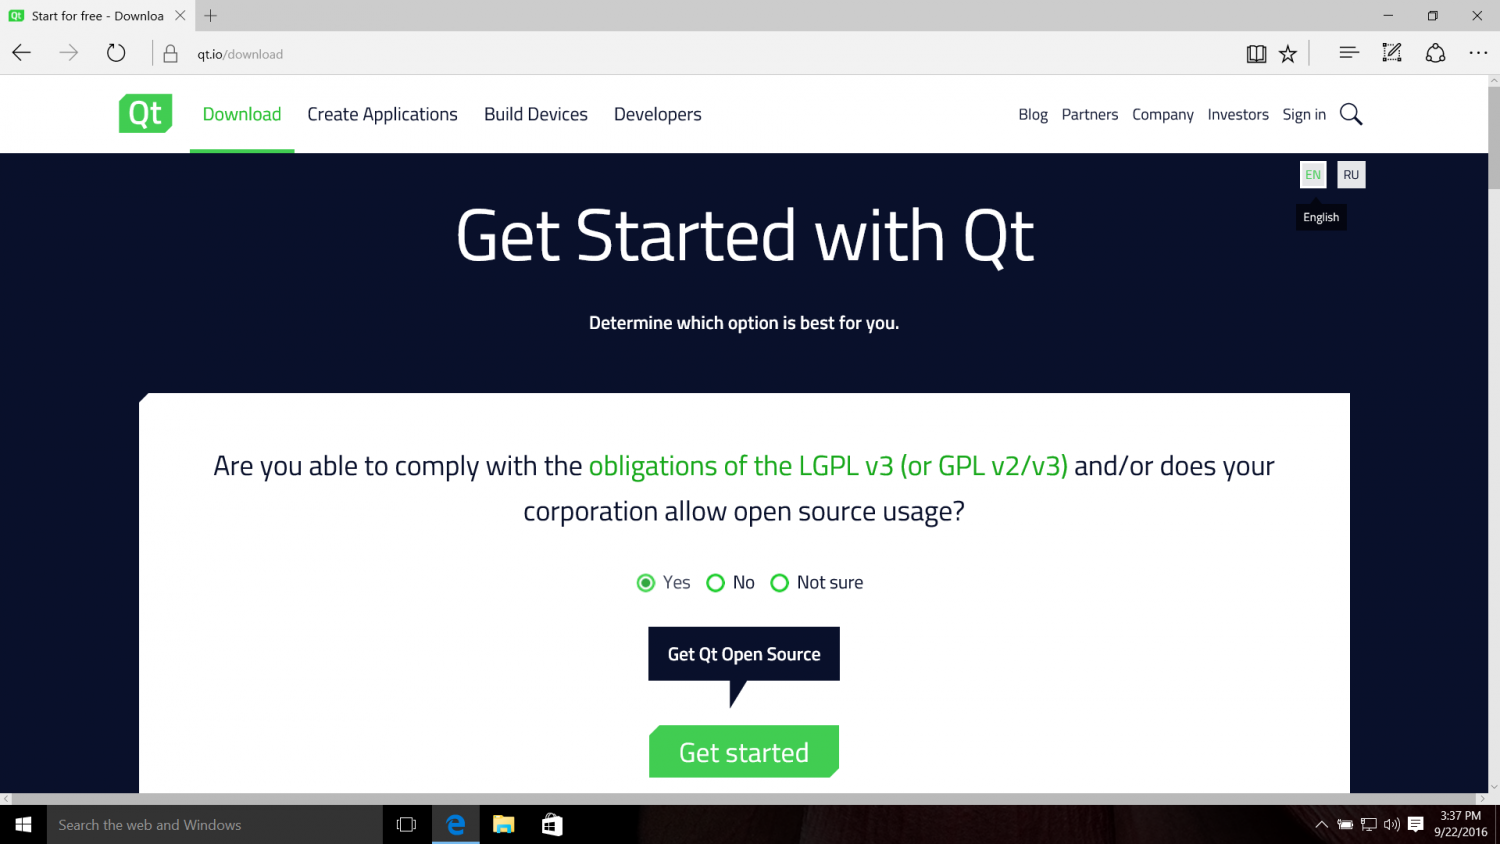
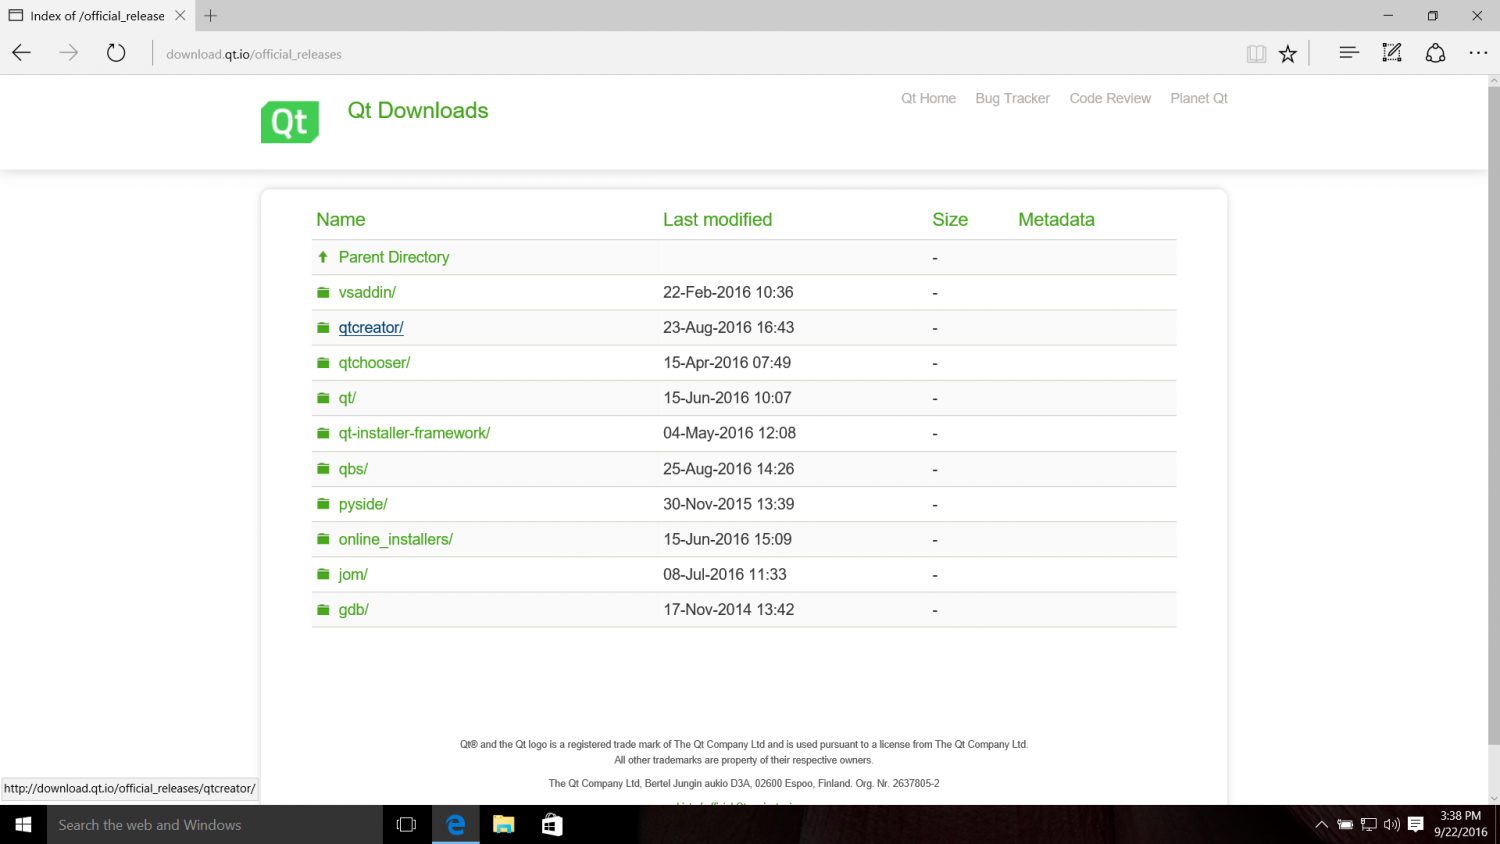
For a quicker way to download Qt and to get different versions other than the latest, you can instead go to http://download.qt.io. Select official_releases, then online_installers, and select to download qt-unified-windows-x86-online.exe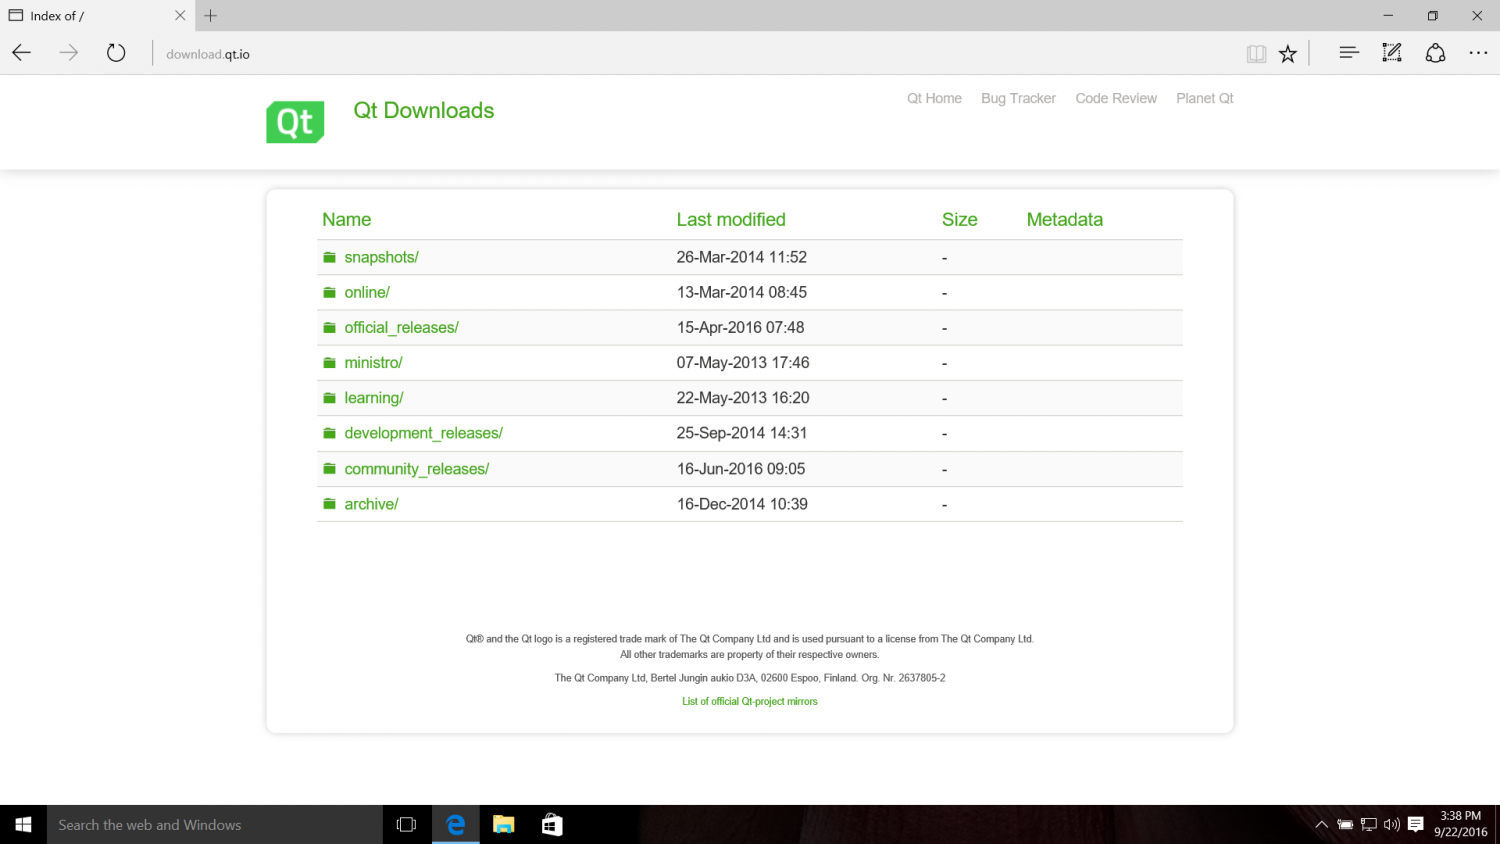
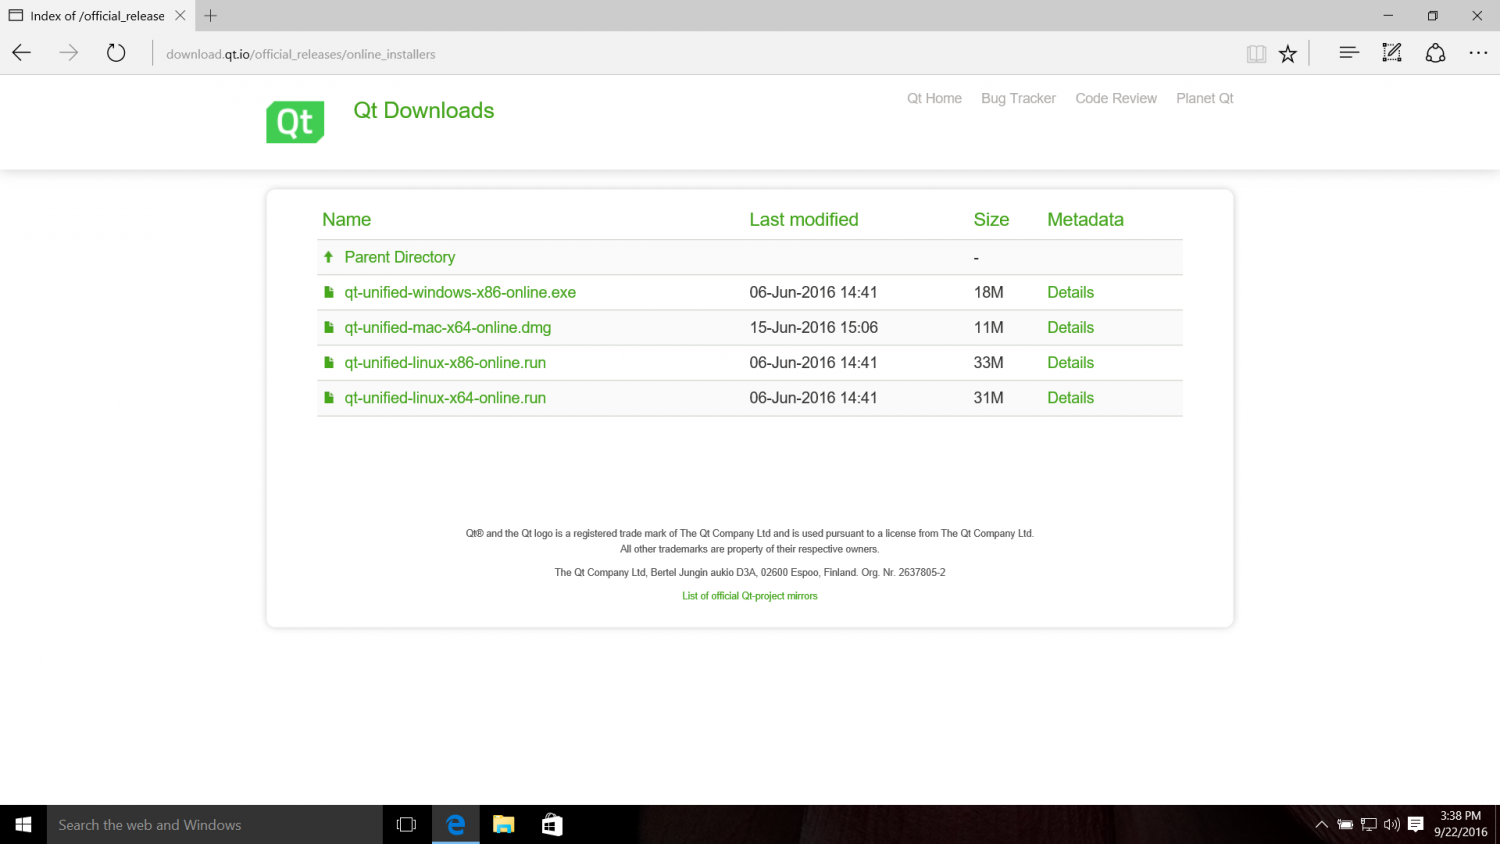
The download is reasonably small (18 MB) and will try to use a local server near you.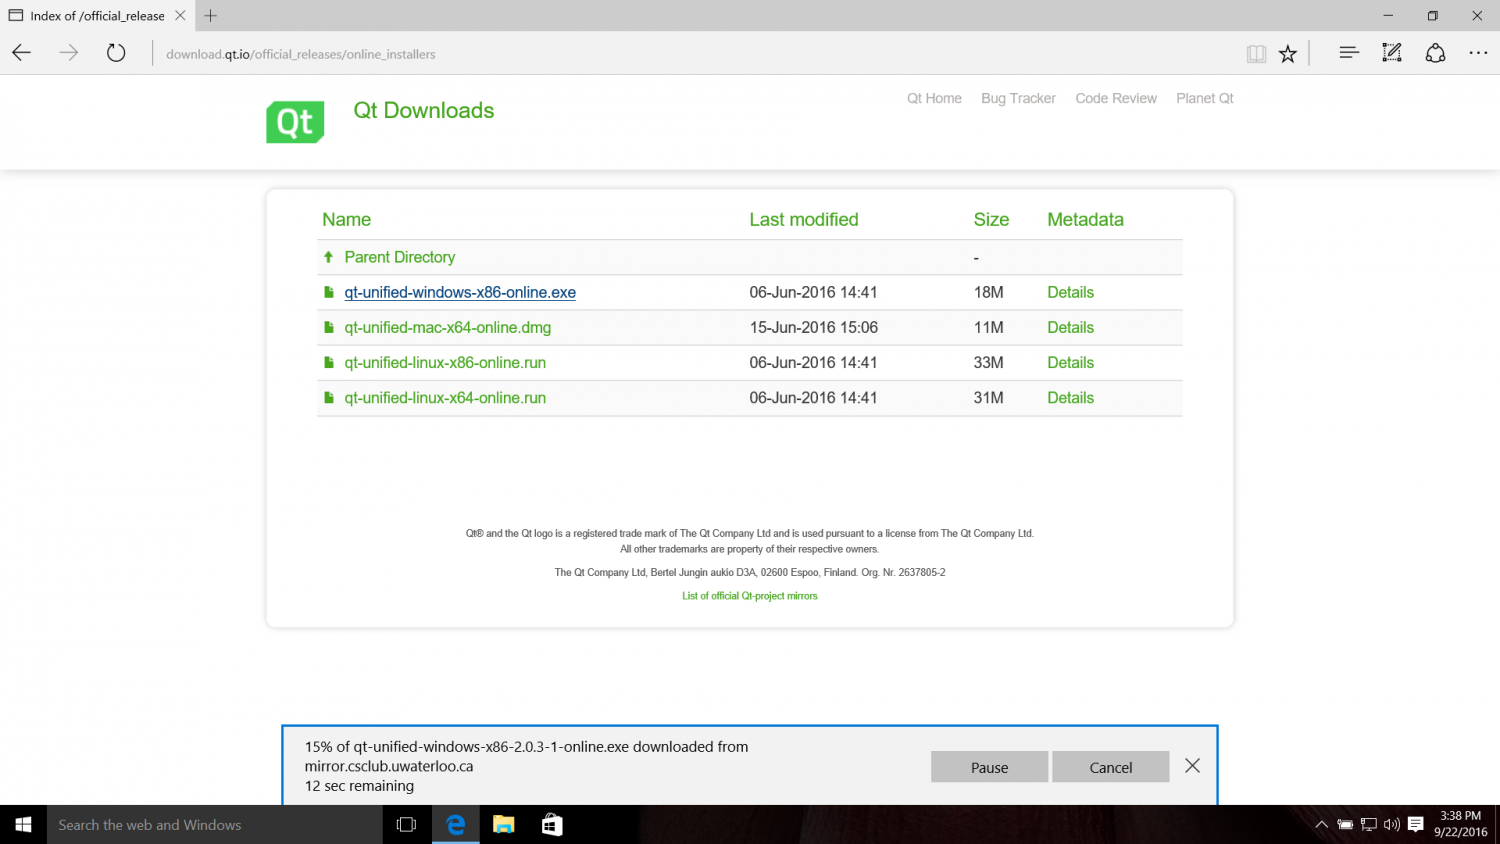
Once downloaded, run the installer program. You will probably need to accept the Windows dialog that requests permission to run the installer.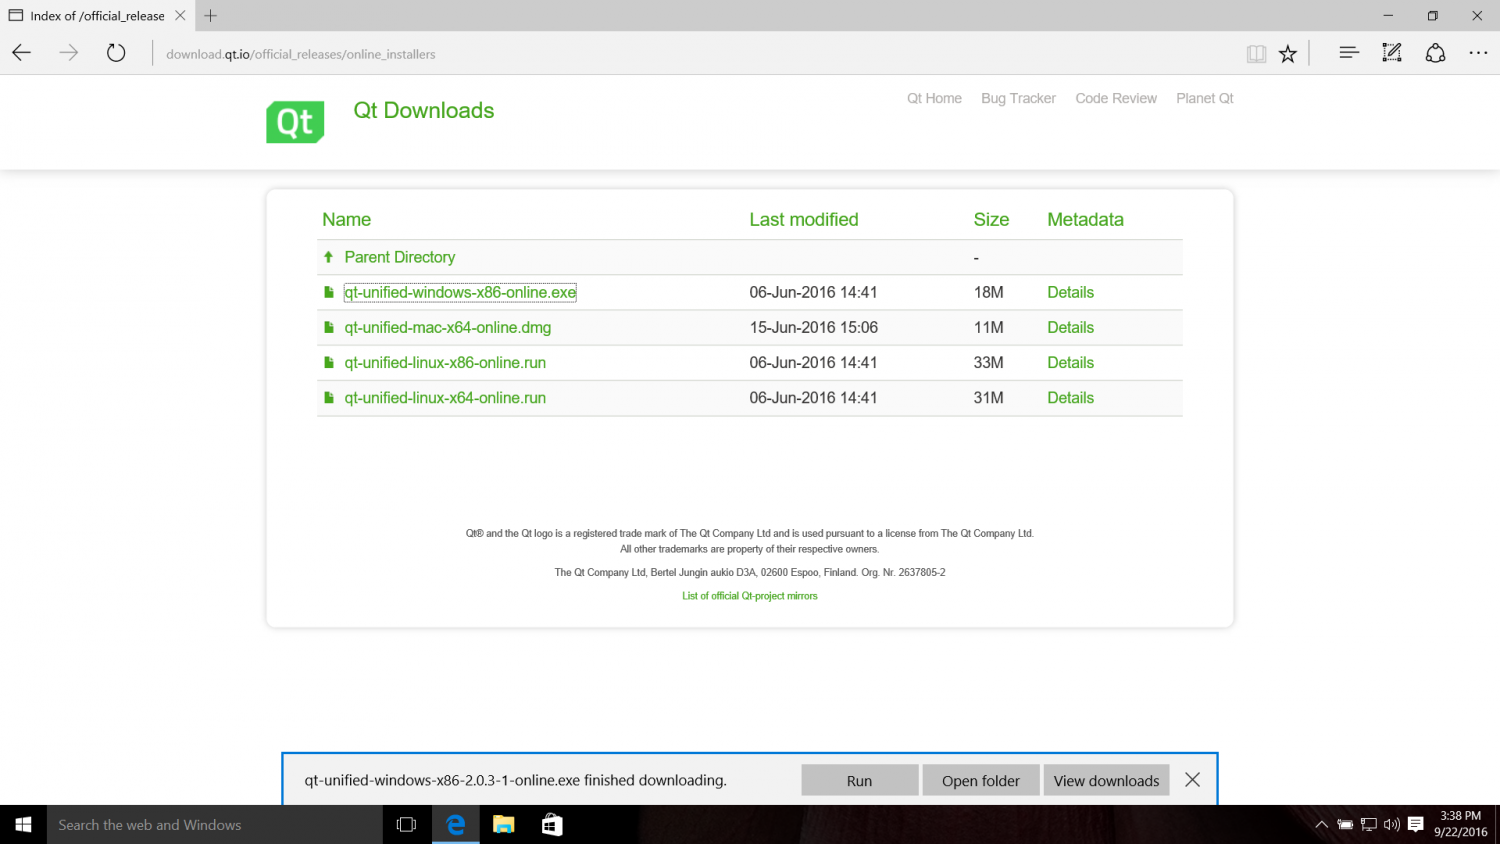
The installer will come up. Hit Next.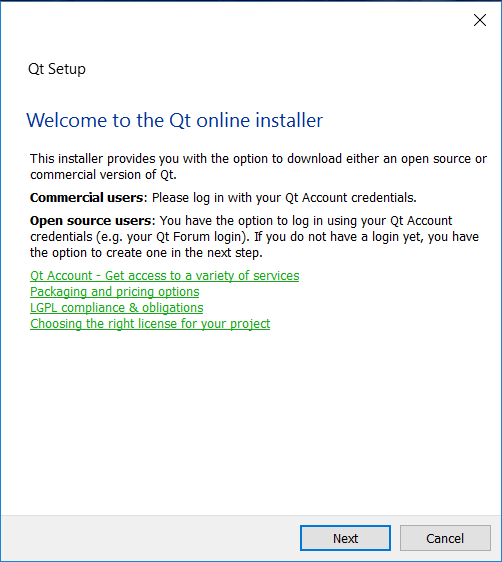
If you have a Qt online account, enter the information here. If you want to create one, go ahead. Otherwise just select Skip to proceed.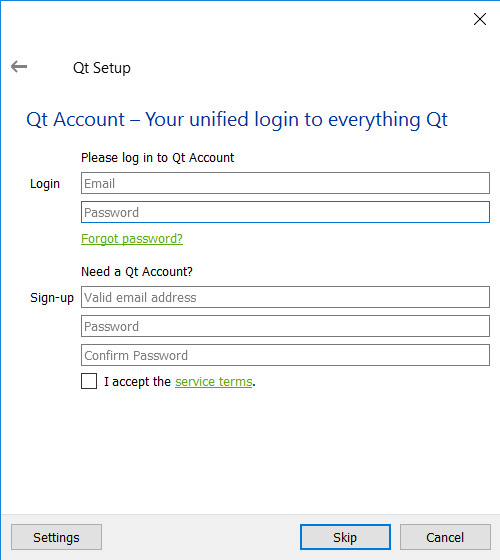
Click Next.
It will now download information about the available components from a remote server.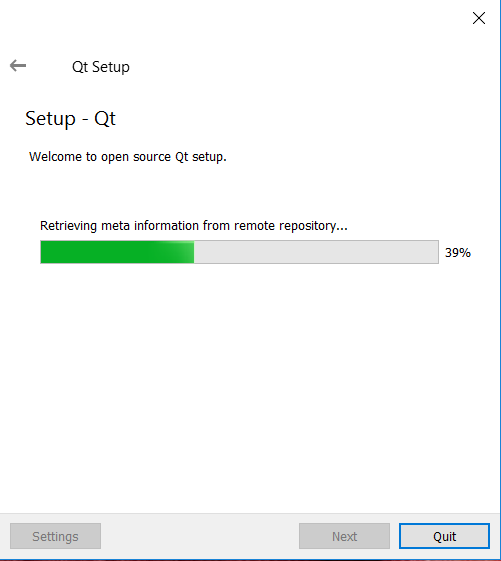
Pick the installation folder (the default is normally fine unless you need more disk space on another drive). A path with spaces in it or that is very long may cause problems later, so avoid doing that.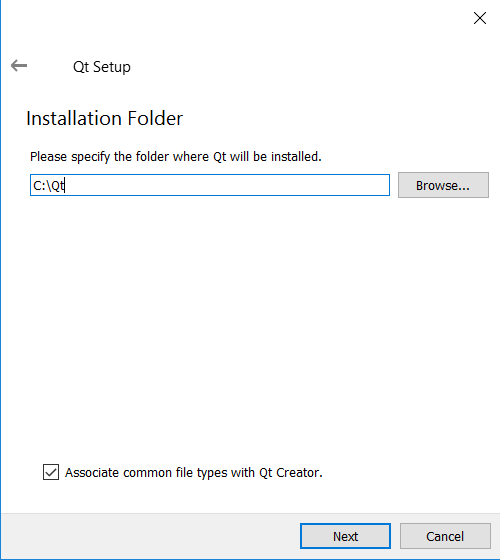
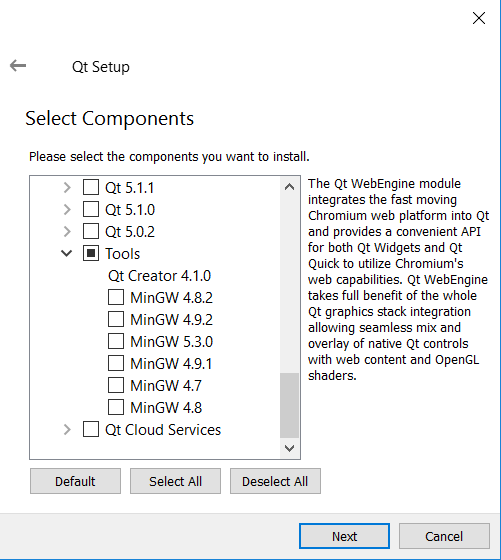
Now, choose the Qt components you want. Let's do a minimal install. If you want more components you can select them. I expanded Qt 5.7, and under that section selected only MinGW 5.3.0 32-bit, turning off the rest of the checkboxes. The only other item I selected was under Tools, where Qt Creator 4.1.0 is always shown and is not optional.
Click Next.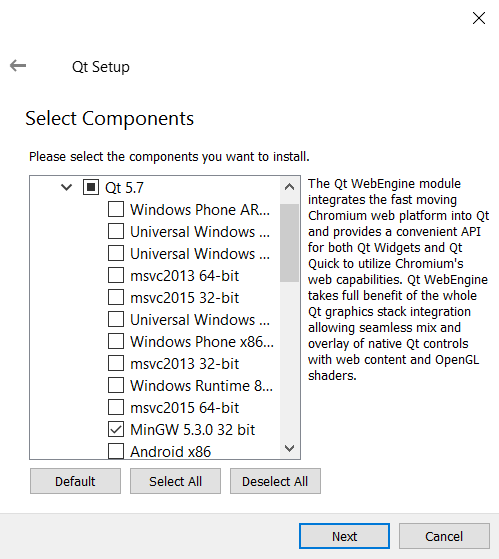
Next read and accept the license agreement.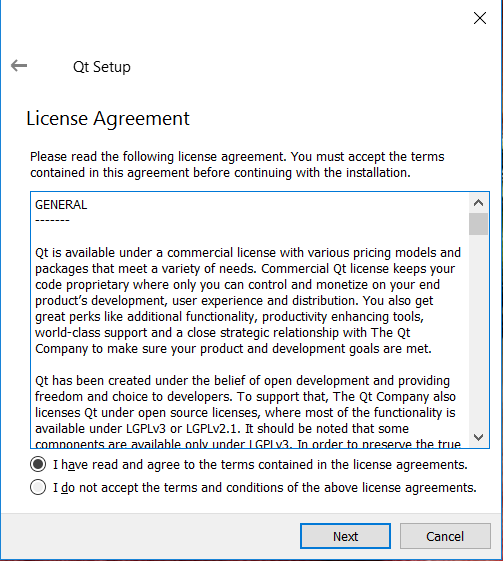
Then pick the Start menu shortcuts you want. The default is typically fine.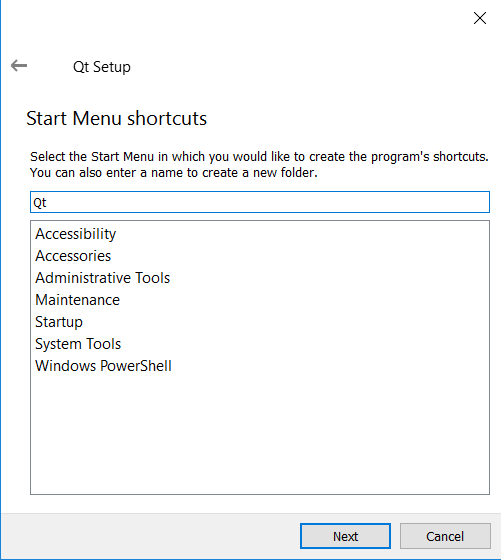
Installation is now ready, so select Next.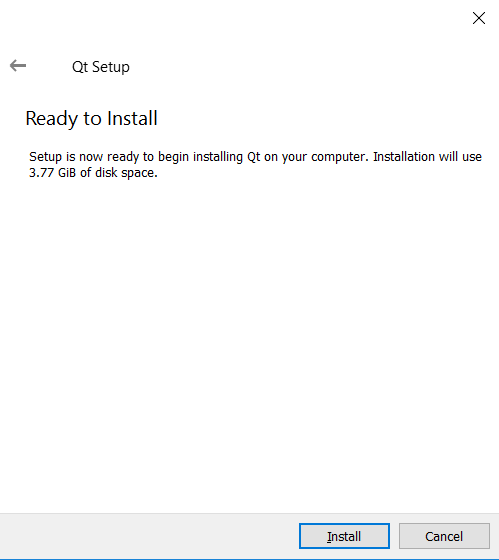
At this point it will download all the selected components. This will take a while depending on the speed of your Internet connection.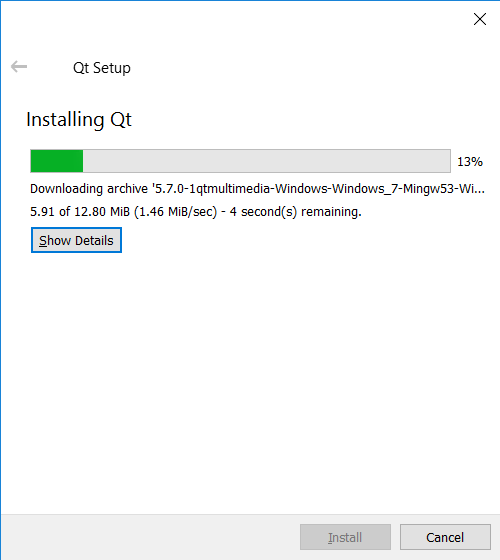
After downloads are completed it will start installing.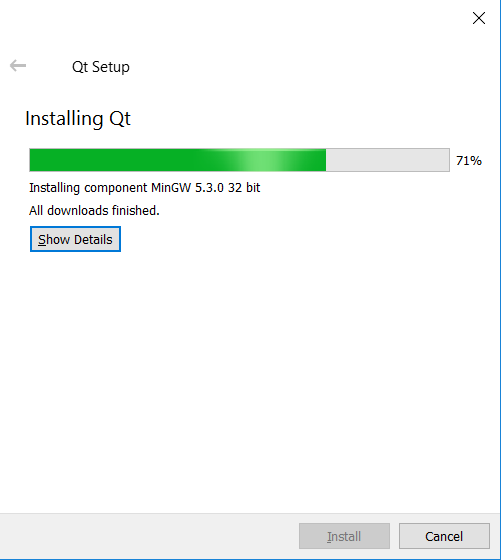
When done, click Finish and launch Qt Creator for the first time.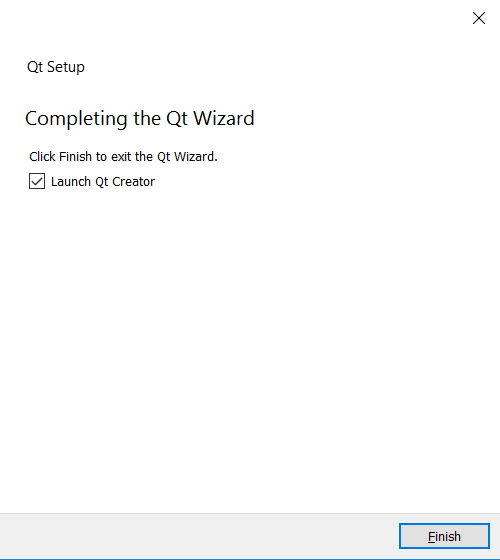
Qt Creator will launch and show the Welcome screen.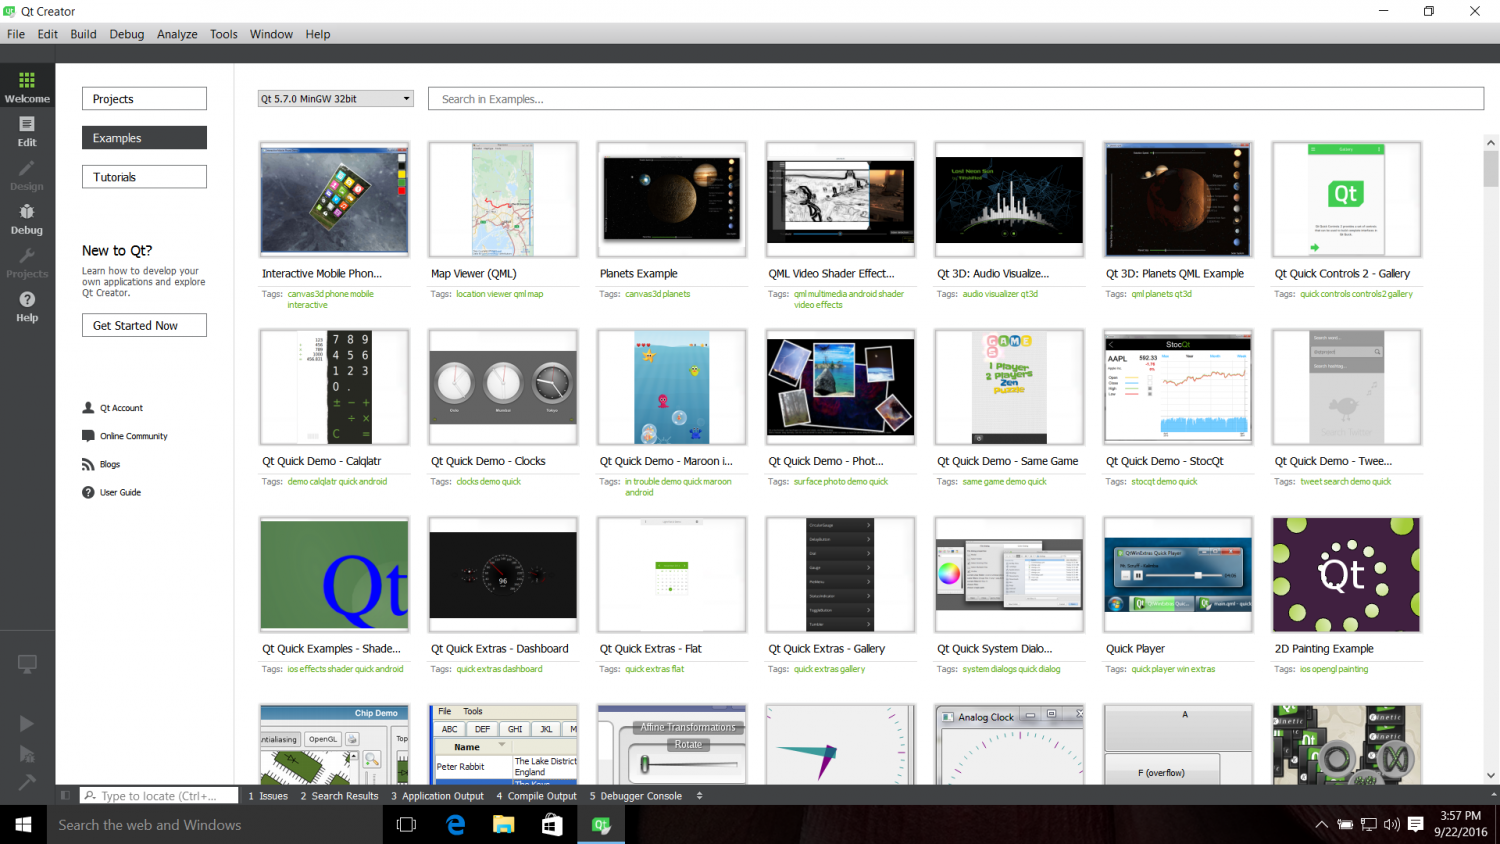
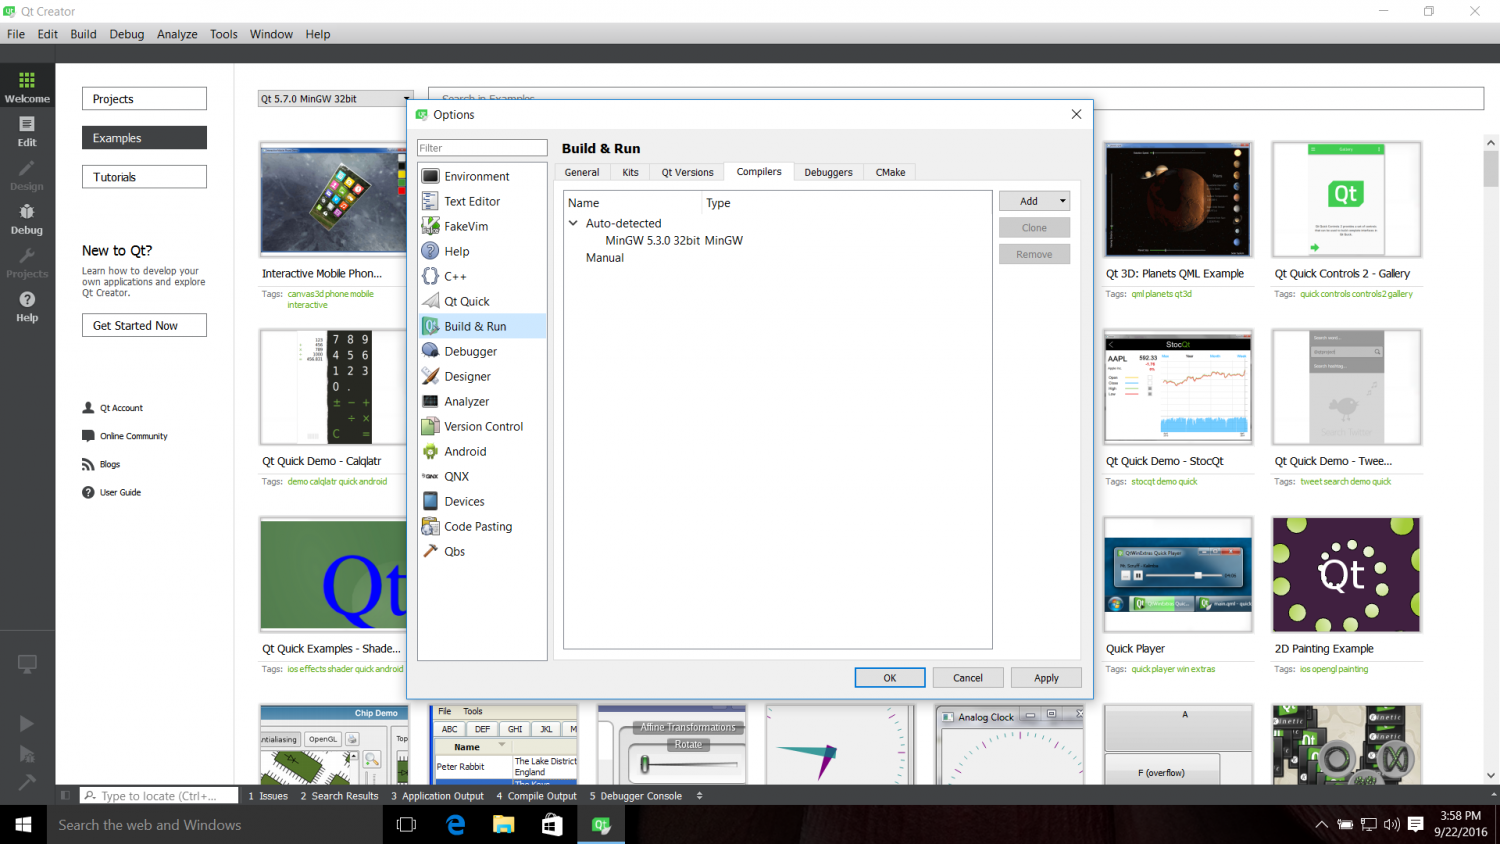
Qt Creator should auto-detect the Qt install and compiler and create a "kit" for desktop development. Look under Tools / Options Build & Run if you want to verify this.

We can now test the installation by creating a simple project. Let's start with one for widgets: Select File / New File or Project...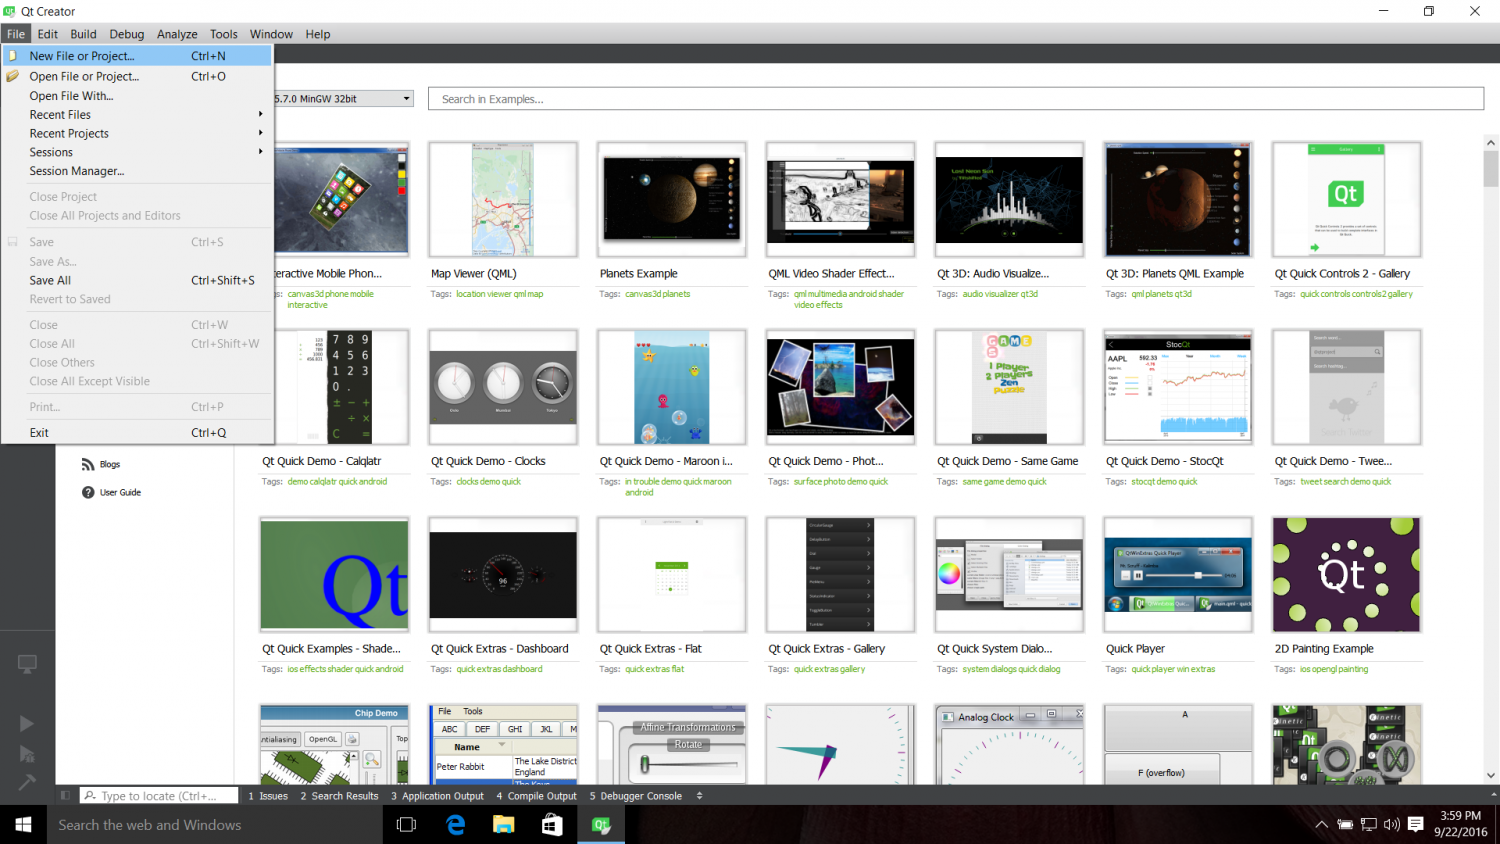
Pick Application and Qt Widgets Application: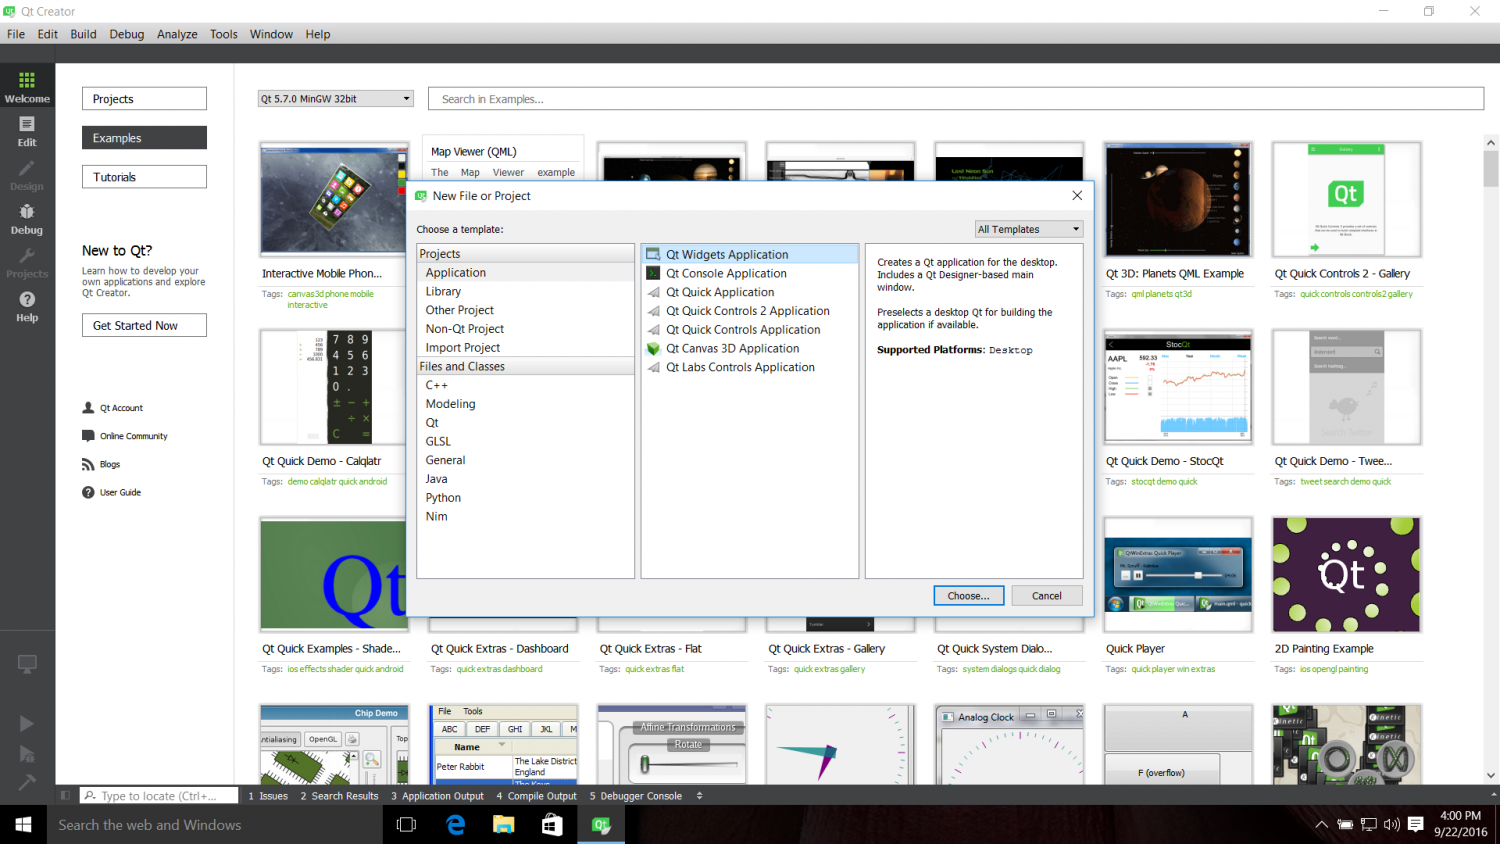
Click Choose... and pick a project name, such as demo1. Click Next.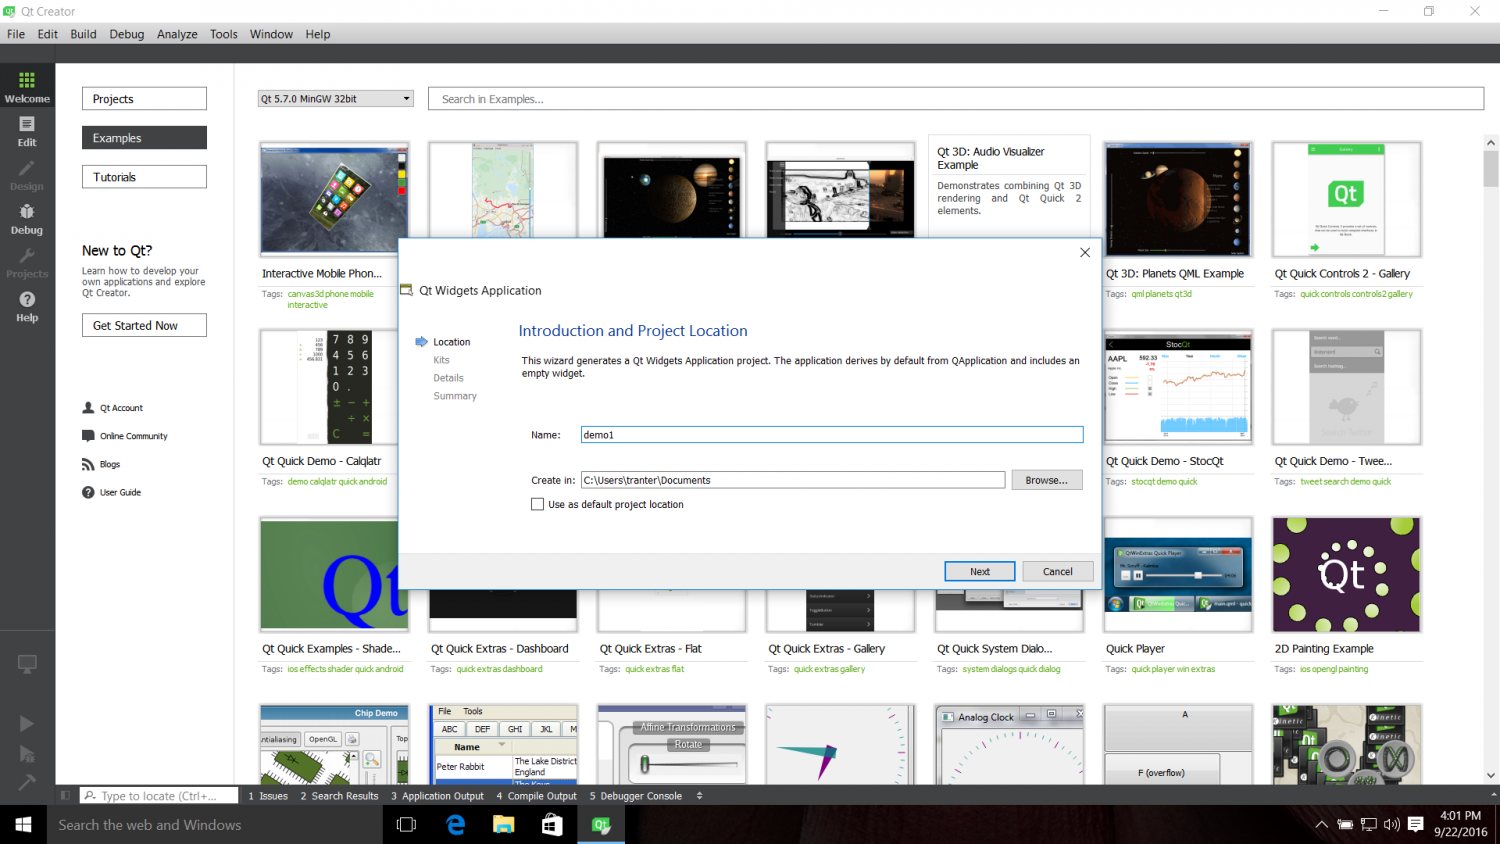
Pick the kit (only one option is available) then Next.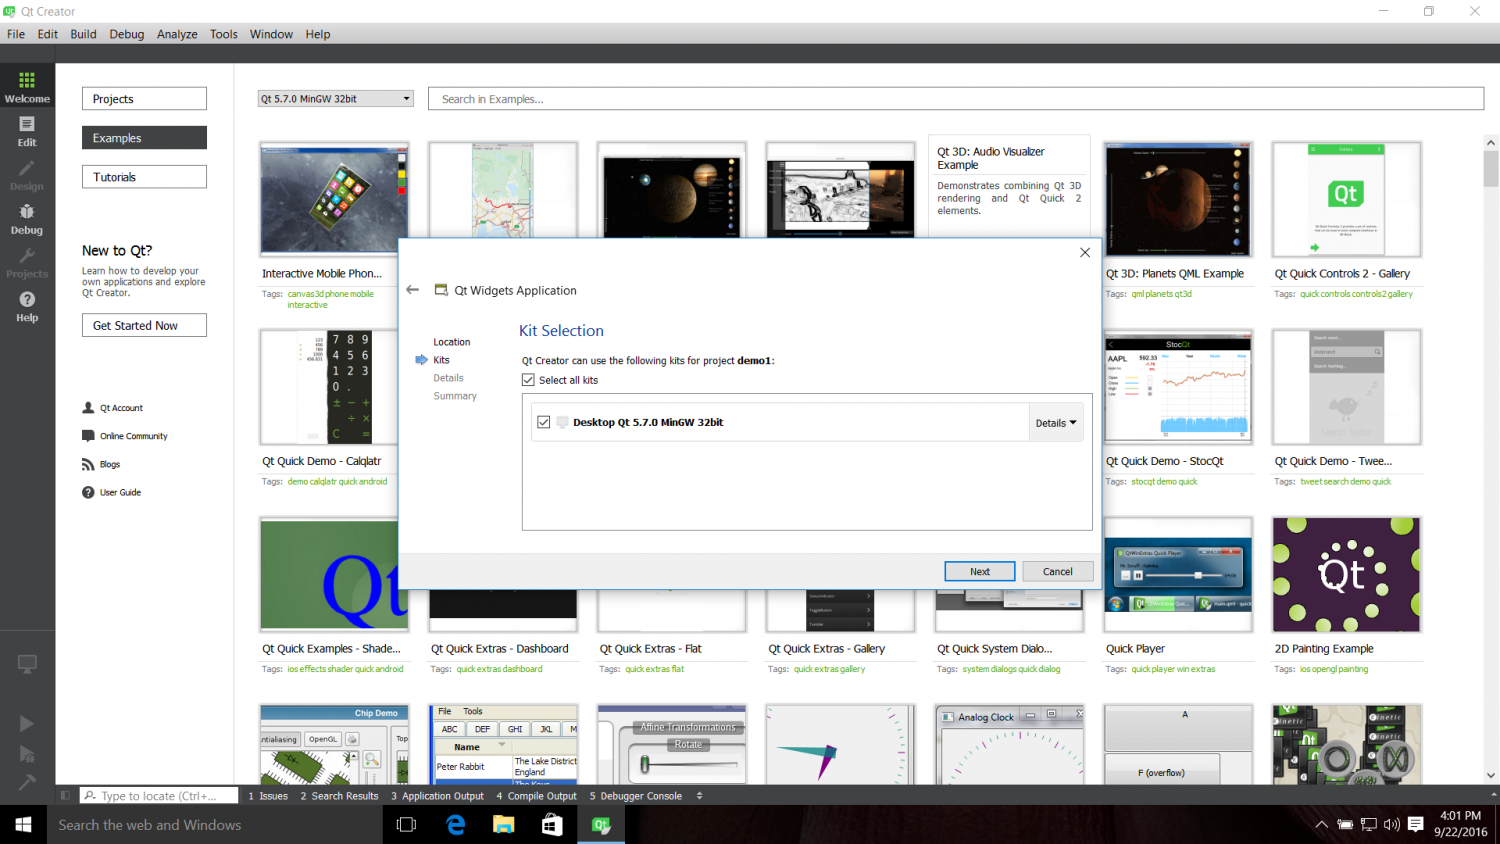
You can specify some more information. Pick the defaults unless you want to use something else. Pick no project management.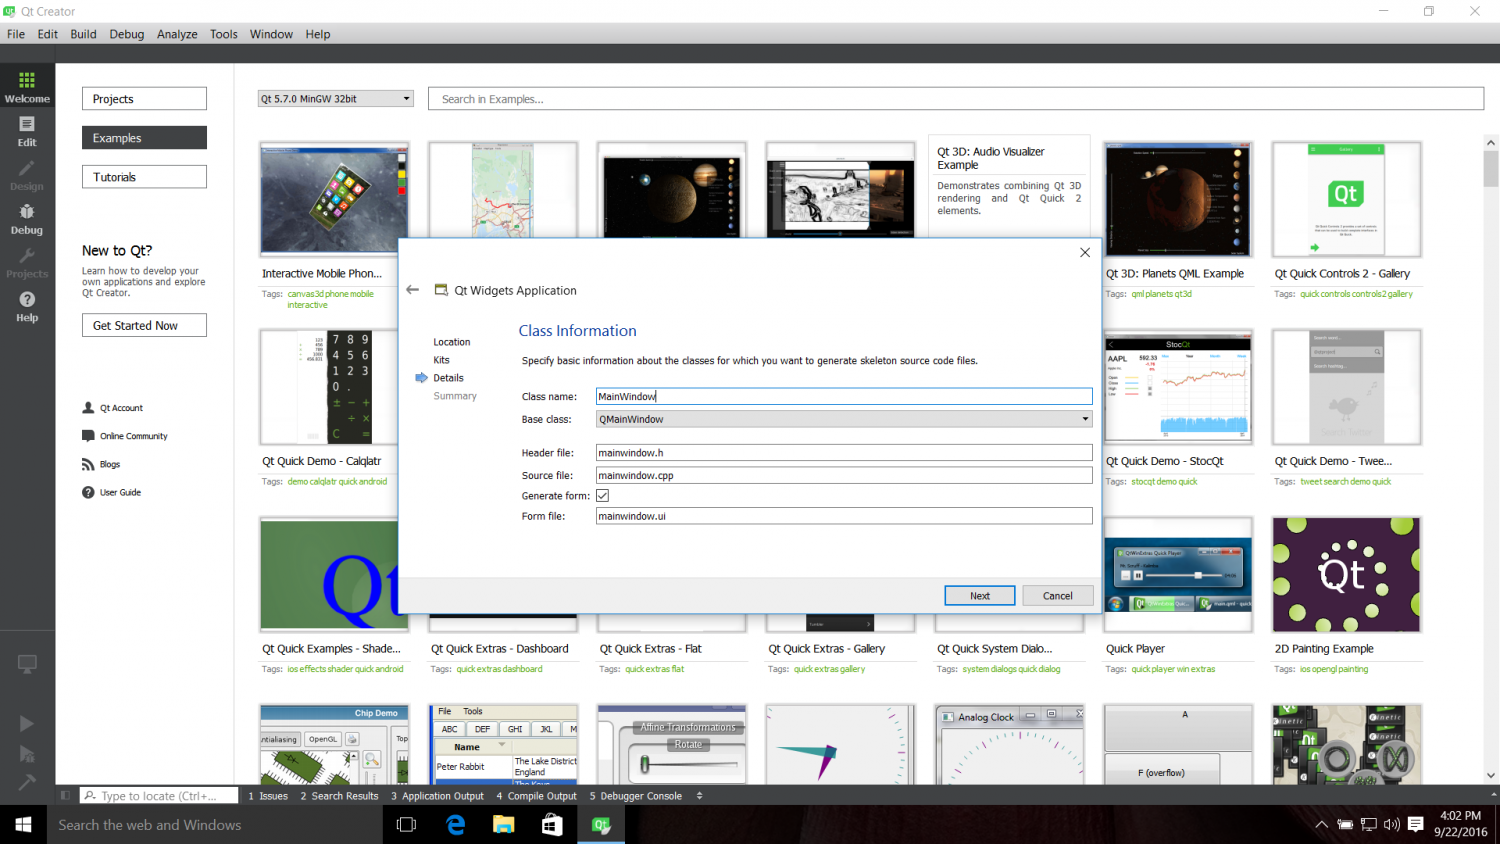
You will now see the created skeleton application. You can look at the source code if desired: a main.cpp, mainwindow class header and cpp files, and a Qt Designer UI file.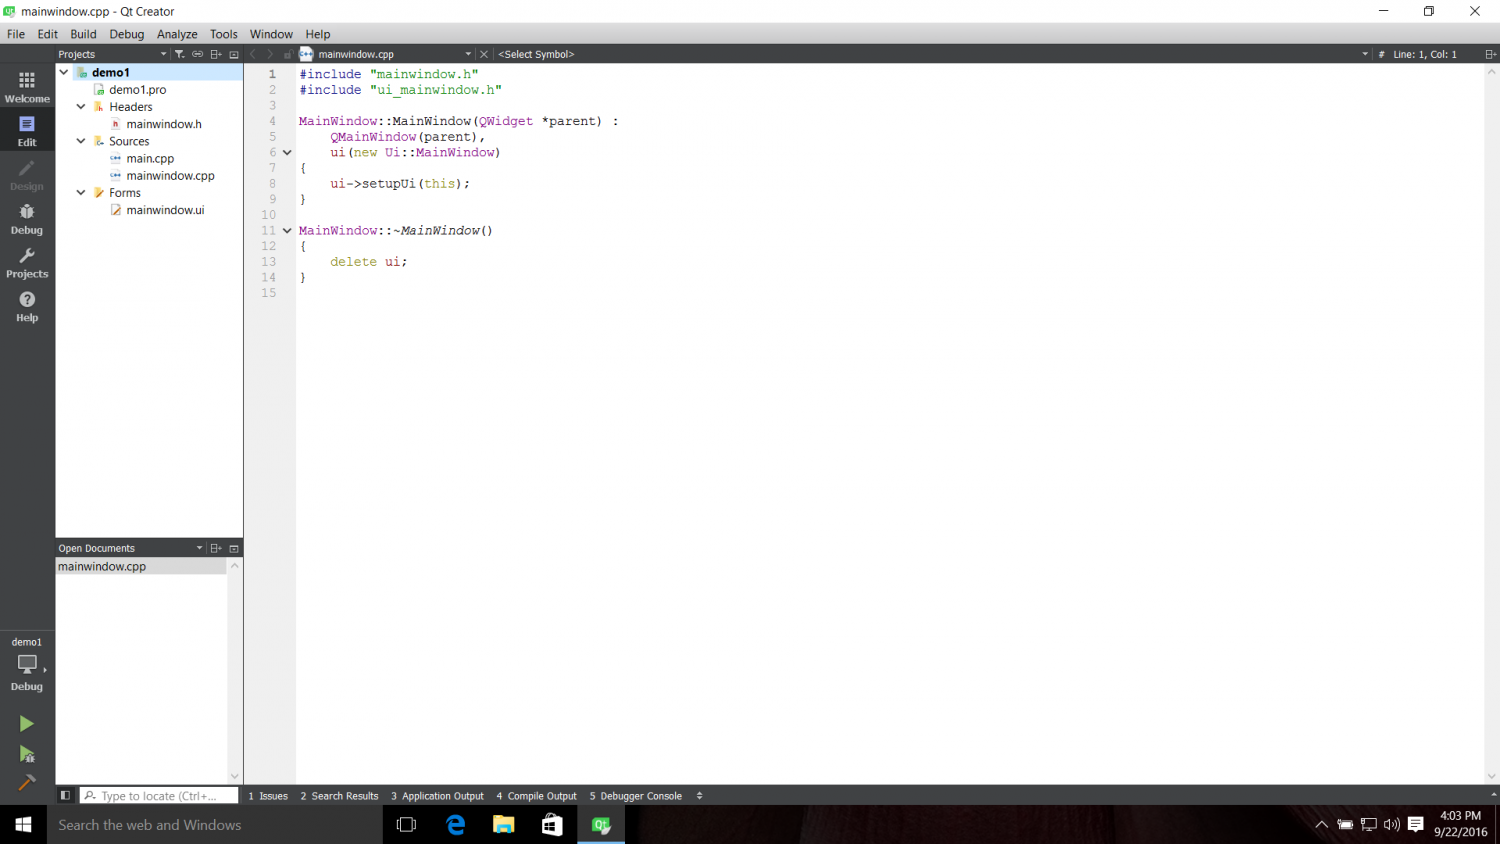
Click the hammer icon at lower left to build it. You can click on Compiler Output if you want to see it. The project should successfully build.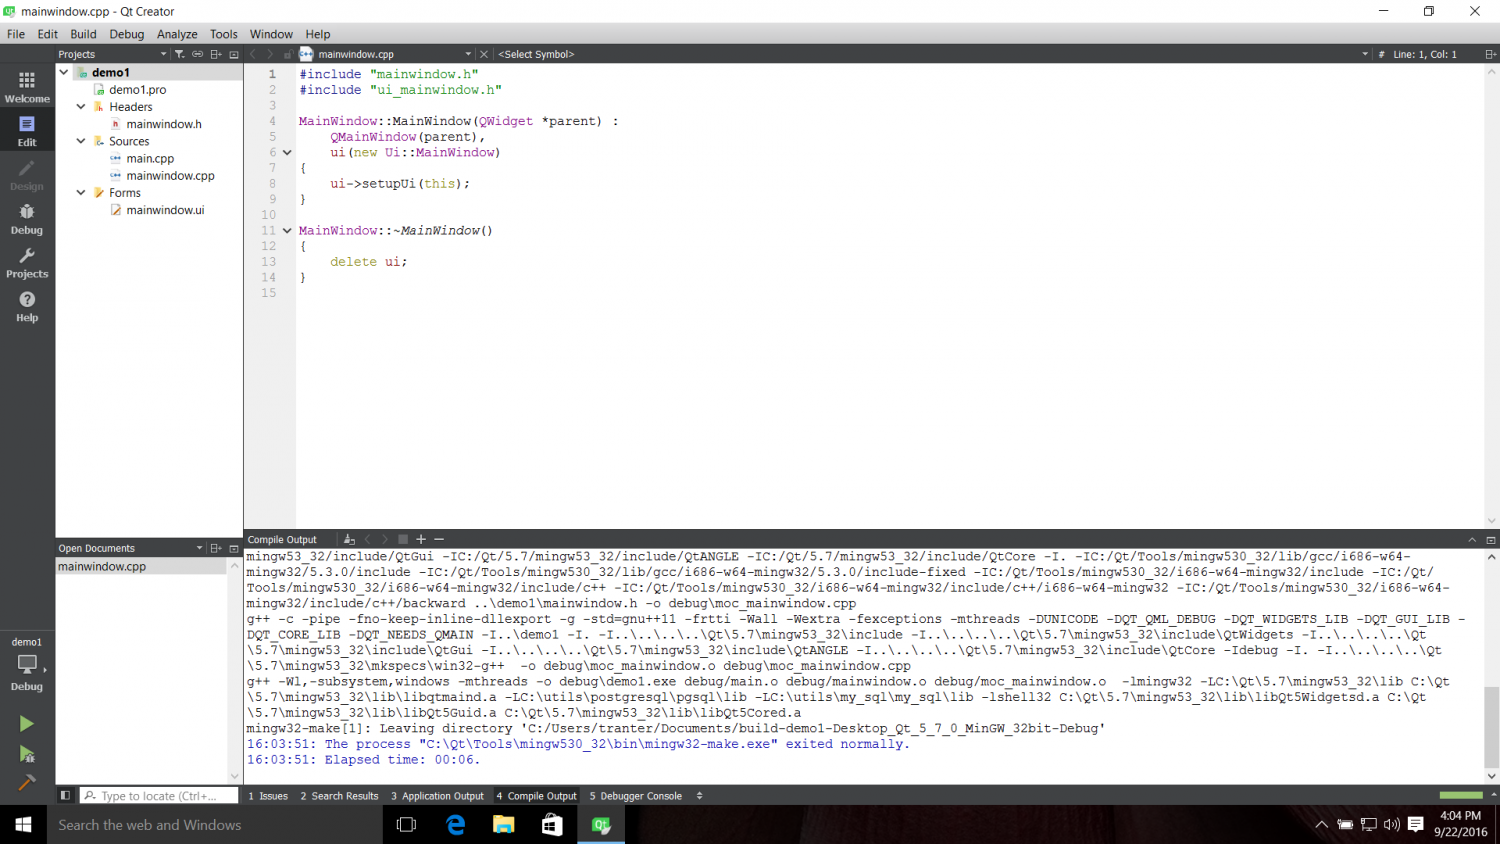
You can now click on the green triangle icon to run it. After doing so, it should launch and you will see a window named MainWindow come up.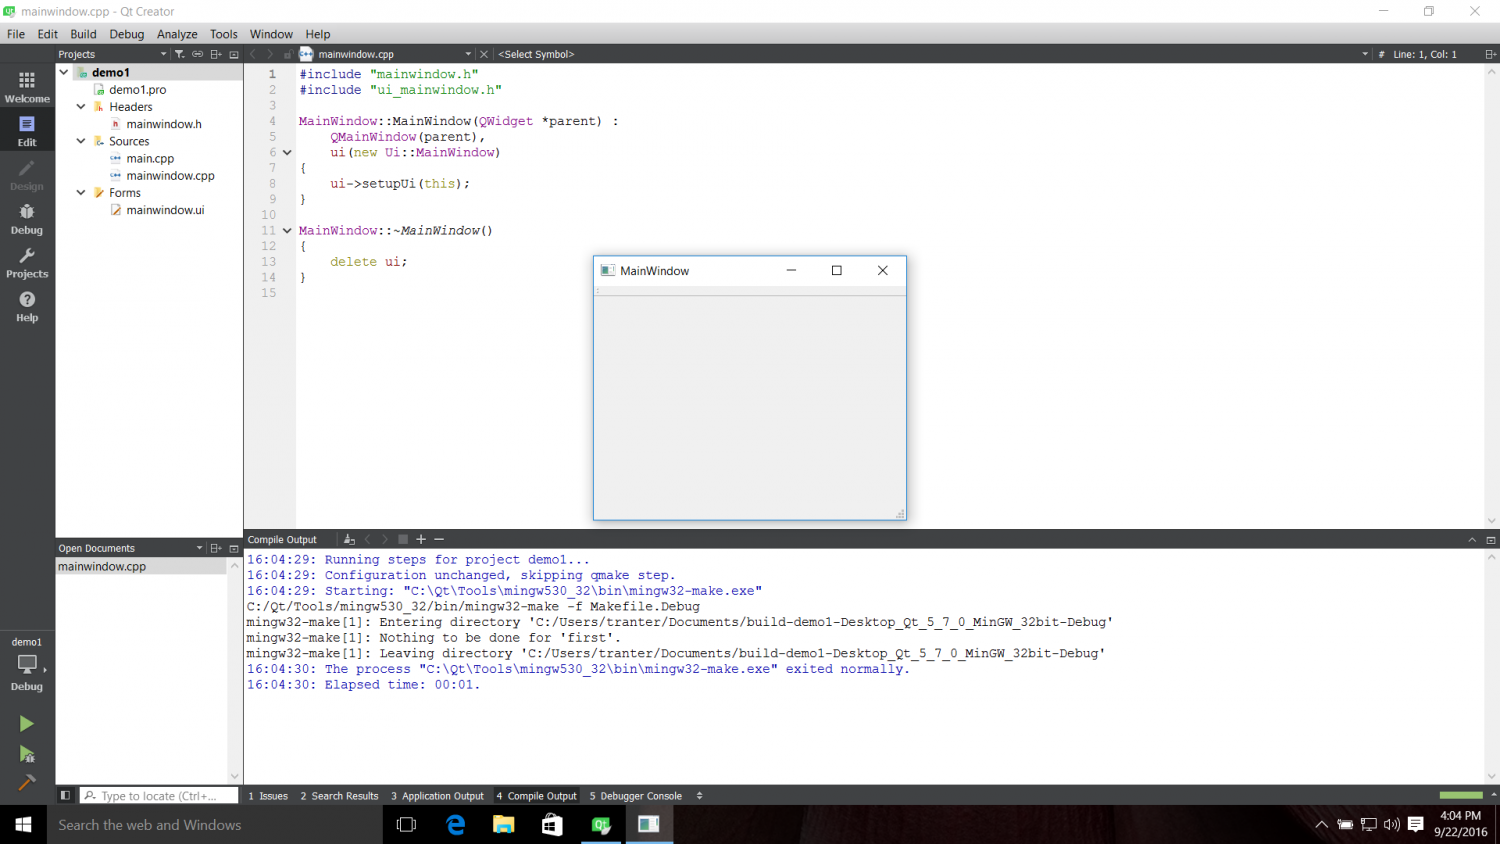
You might also want to try a QML application. Select File / New File or Project... and pick Application / Qt Quick Application (or whatever you prefer).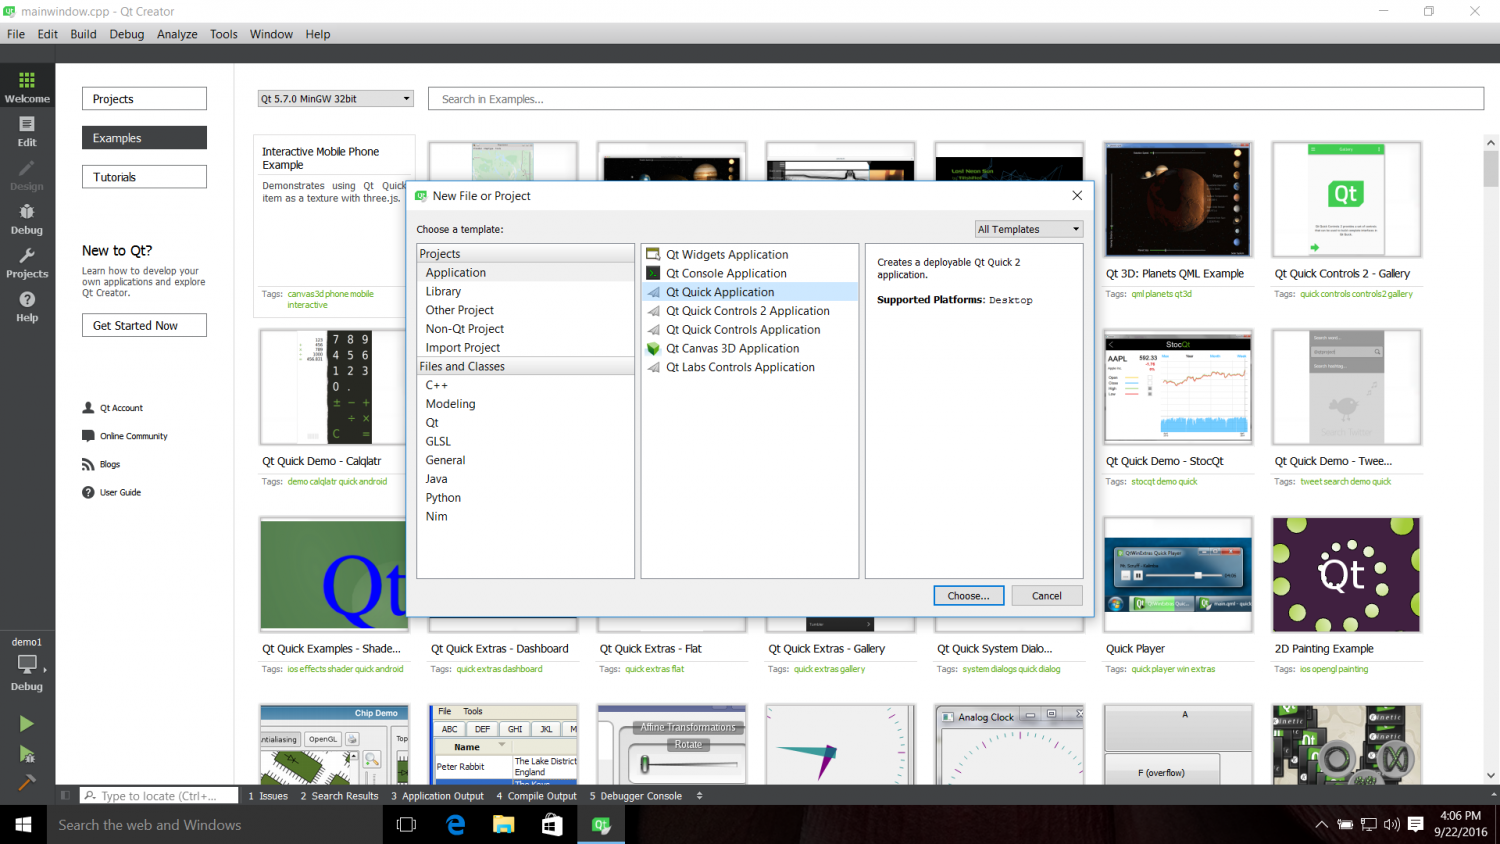
Build and run it as before.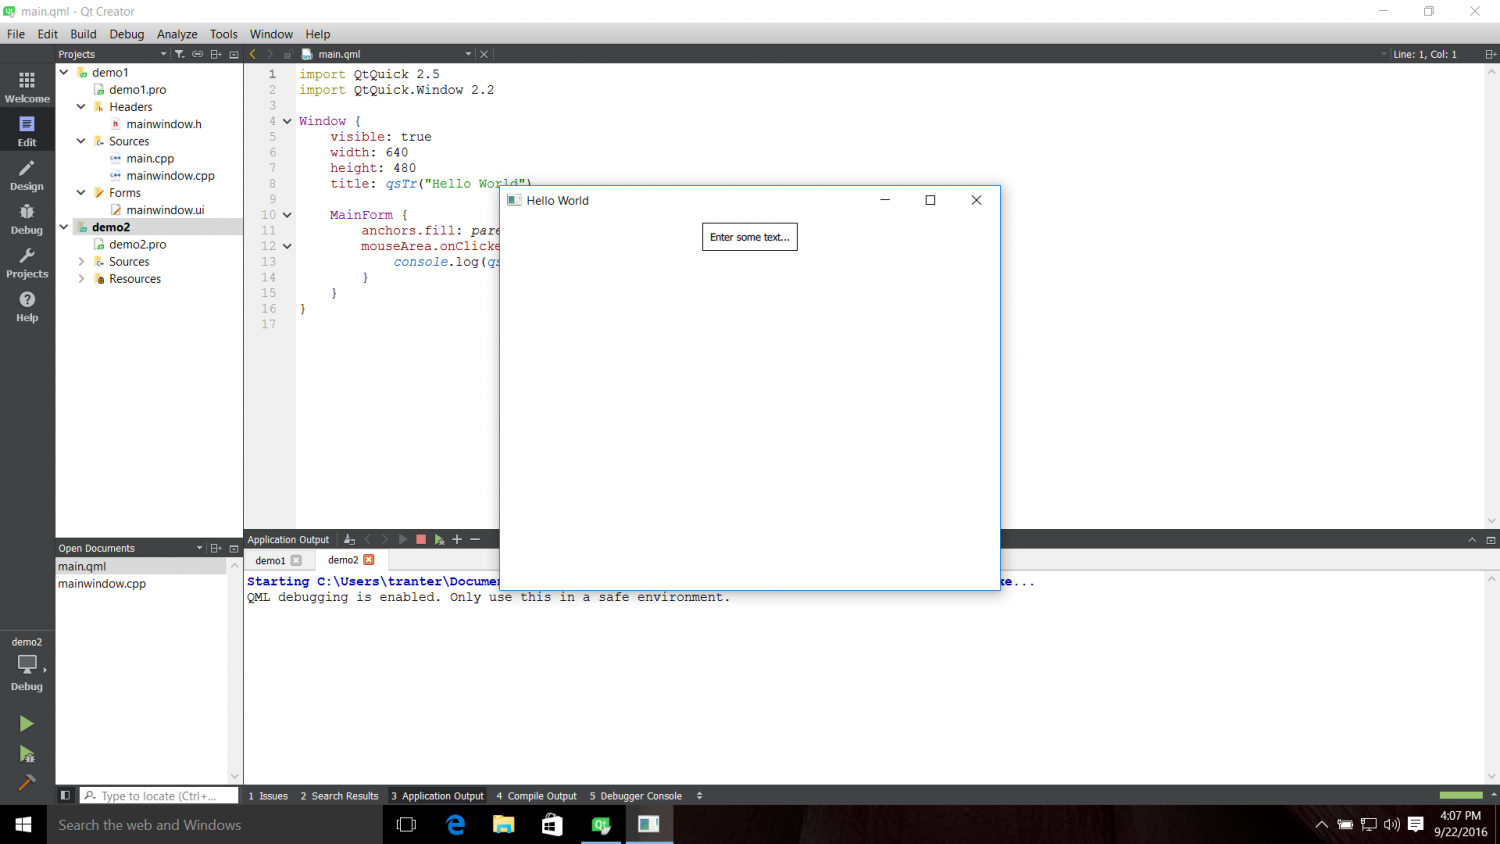
If the above steps worked you are all set up to develop with Qt on the desktop. You can now create your own applications from scratch or start with one of the many examples or tutorials available within Qt Creator.
Under the Start menu you will see a Qt section with entries for Qt Creator, as well as Assistant, Designer and Linguist in case you want to run these tools on their own. There is also an entry for a command prompt for Qt, which will have qmake and other tools in the path so you can work from the command line if desired.
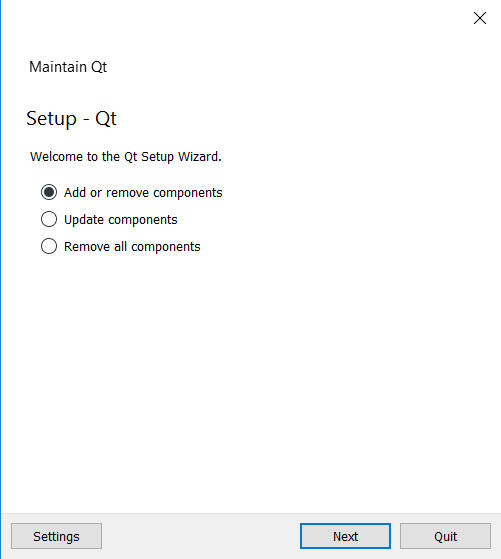
If you want to go back and add or remove more Qt components, run "Uninstall Qt" which is the maintenance tool we used earlier. 
Select to Add or remove components or Update components.
Summary
I hope that you now appreciate that setting up Qt for desktop development is easy and you can be up and running very quickly. This example covered one of the most common setups. It is possible to use other compilers like Microsoft Visual Studio and even different IDEs if you desire. In the future I plan to continue this series for beginners, covering how to set up on a development environment on a Linux desktop and how to compile Qt from source.