How to Build Qt 6.4.0 from Source on Ubuntu Linux
This blog, which originally described how to build Qt 6.2.0 (the latest release at the time it was written), has been fully updated to cover the Qt 6.4.0 release.
Qt 6.2.0 was the first release of the Qt 6 series to reach feature parity with Qt 5, and was therefore the first release that was widely adopted for new Qt projects or projects ported from Qt 5. In this post I present a short tutorial on building Qt 6.4.0 from source on Ubuntu Linux.
Ubuntu Desktop Linux is one of the most widely used Linux distributions for desktop use and version 22.04.1 was the most recent long term support (LTS) version at the time of writing. While you can download pre-compiled Qt 6.4.0 binaries using the Qt Maintenance Tool, you may want to build it from source for a number of reasons:
- You may not want to use the Qt maintenance tool or create the Qt account needed to run it.
- You want to generate your own binaries rather than those provided by The Qt Company.
- You want to include some source code patches or other changes in your build.
- You want to customize the configuration for your needs.
- You want to better understand the process of building Qt from source.
A few caveats. First, these instructions are for Ubuntu Desktop Linux 22.04.1 LTS only. While the process should be similar, there will be differences in dependencies and commands for other Ubuntu versions or Linux distributions. Second, I haven't enabled all Qt features. Some features may need additional third-party dependencies installed in order to be enabled in the configuration. Third: building it will take some time (typically several hours) depending on the speed and number of CPU cores available on your build machine.
Getting Ready
To build all of Qt from source you will need at least 30GB of free disk space and preferably at least 16GB of virtual memory (RAM), particularly if you are building qtwebengine.
There are a number of dependencies of third-party libraries and commands. This command should install the necessary packages:
sudo apt install bison build-essential clang flex gperf \
libatspi2.0-dev libbluetooth-dev libclang-dev libcups2-dev libdrm-dev \
libegl1-mesa-dev libfontconfig1-dev libfreetype6-dev \
libgstreamer1.0-dev libhunspell-dev libnss3-dev libopengl-dev \
libpulse-dev libssl-dev libts-dev libx11-dev libx11-xcb-dev \
libxcb-glx0-dev libxcb-icccm4-dev libxcb-image0-dev \
libxcb-keysyms1-dev libxcb-randr0-dev libxcb-render-util0-dev \
libxcb-shape0-dev libxcb-shm0-dev libxcb-sync-dev libxcb-util-dev \
libxcb-xfixes0-dev libxcb-xinerama0-dev libxcb-xkb-dev libxcb1-dev \
libxcomposite-dev libxcursor-dev libxdamage-dev libxext-dev \
libxfixes-dev libxi-dev libxkbcommon-dev libxkbcommon-x11-dev \
libxkbfile-dev libxrandr-dev libxrender-dev libxshmfence-dev \
libxshmfence1 llvm ninja-build nodejs python-is-python3 python3
Building
We are now ready to build Qt. First, let's get the source code:
wget https://download.qt.io/official_releases/qt/6.4/6.4.0/single/qt-everywhere-src-6.4.0.tar.xz
And extract it from the archive:
tar xf qt-everywhere-src-6.4.0.tar.xz
cd qt-everywhere-src-6.4.0
Now configure, specifying the install location. I chose to install it in /usr/local/Qt6. If you have other Qt versions installed, they often get placed in /usr/local/Qt, so this will not conflict with them.
./configure -prefix /usr/local/Qt6
This will take some time, but should succeed if all required dependencies are present, and end with a summary such as the following (I've shortened it as the full output is quite long):
Configure summary:

Building for: linux-g++ (x86_64, CPU features: mmx sse sse2)
Compiler: gcc 11.3.0
Build options:
  Mode ................................... release
  Using C standard ....................... C11
  Using C++ standard ..................... C++17
Qt modules and options:
  Qt Concurrent .......................... yes
  Qt D-Bus ............................... yes
  Qt D-Bus directly linked to libdbus .... yes
  Qt Gui ................................. yes
  Qt Network ............................. yes
  Qt PrintSupport ........................ yes
  Qt Sql ................................. yes
  Qt Testlib ............................. yes
  Qt Widgets ............................. yes
  Qt Xml ................................. yes
QPA backends:
  DirectFB ............................... no
  EGLFS .................................. yes
  LinuxFB ................................ yes
  VNC .................................... yes
Qt Multimedia:
  Video for Linux ........................ yes
  PulseAudio ............................. yes
Qt Tools:
  Qt Assistant ........................... yes
  Qt Designer ............................ yes
  Qt Linguist ............................ yes
Build Features:
  Use system ninja ....................... yes
  Developer build ........................ no
Qt WebEngineCore:
  Printing and PDF ....................... yes
  Support GLX on qpa-xcb ................. yes
  Use PulseAudio ......................... yes

Qt is now configured for building. Just run 'cmake --build . --parallel'

Once everything is built, you must run 'cmake --install .'
Qt will be installed into '/usr/local/Qt6'

To configure and build other Qt modules, you can use the following convenience script:
        /usr/local/Qt6/bin/qt-configure-module

If reconfiguration fails for some reason, try to remove 'CMakeCache.txt' from the build directory

-- Configuring done
-- Generating done
-- Build files have been written to: /home/tranter/qt-everywhere-src-6.4.0
There is more that could be configured or enabled if desired, such as database plugins, but the above provides a good starting point.
We're now ready to build, which will take some time:
cmake --build .
If it completes successfully, we can now install it in /usr/local/Qt6:
sudo cmake --install .
We also want to build the documentation for Qt Assistant:
cmake --build . --target docs
And then install the docs:
sudo cmake --build . --target install_docs
You can now delete the source and build directories. The actual install in /usr/local/Qt6 should be about 1 GB in size.
Testing
Once installed, you can perform some basic checks of the installation:
- Run Qt Designer (/usr/local/Qt6/bin/designer) and verify if comes up.

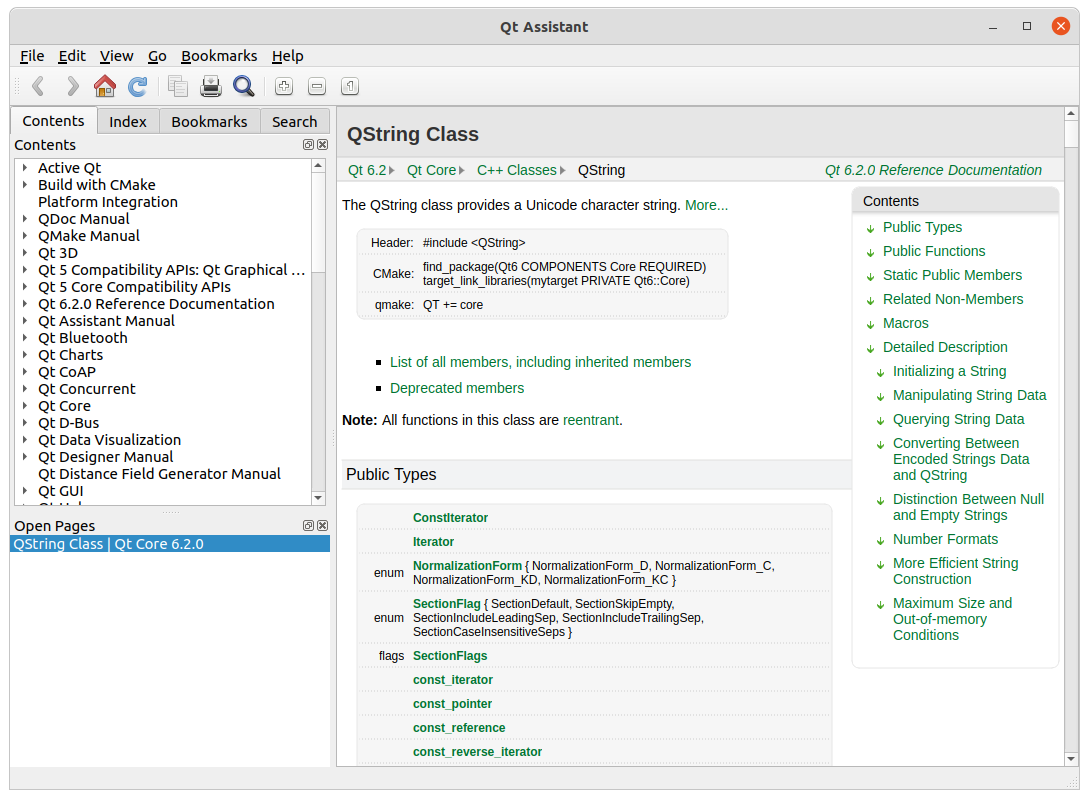
- Run Qt Assistant (/usr/local/Qt6/bin/assistant) and verify that it shows the documentation. It will take some time to initially build the index for searching.

- Configure your Qt Creator IDE to point to the new Qt 6 release and test that you can compile and run some code of your own.
Summary
I hope you found this tutorial useful. I encourage you to try building Qt 6 from source, if only to learn more about the process. Knowing how to do this is a useful skill that is needed if you have to build Qt for a platform not directly supported by Qt's Maintenance Tool, such as the less common Linux distributions or embedded platforms. You can learn more about Qt 6 here.