
How to Control Your Game with a Raspberry Pi
Thinking of building large gameshow-like interactive experiences? Want to use your Raspberry Pi to talk to your computer? Interested in integrating custom controllers with your games? If so, this blog is you. We were tasked with creating an interactive experience — a Plinko-like game — for attendees to play at a trade show. It was a pretty cool project. We're sharing this walk-through so you can build your own.
But first, let's get this out of the way: what exactly is Plinko?
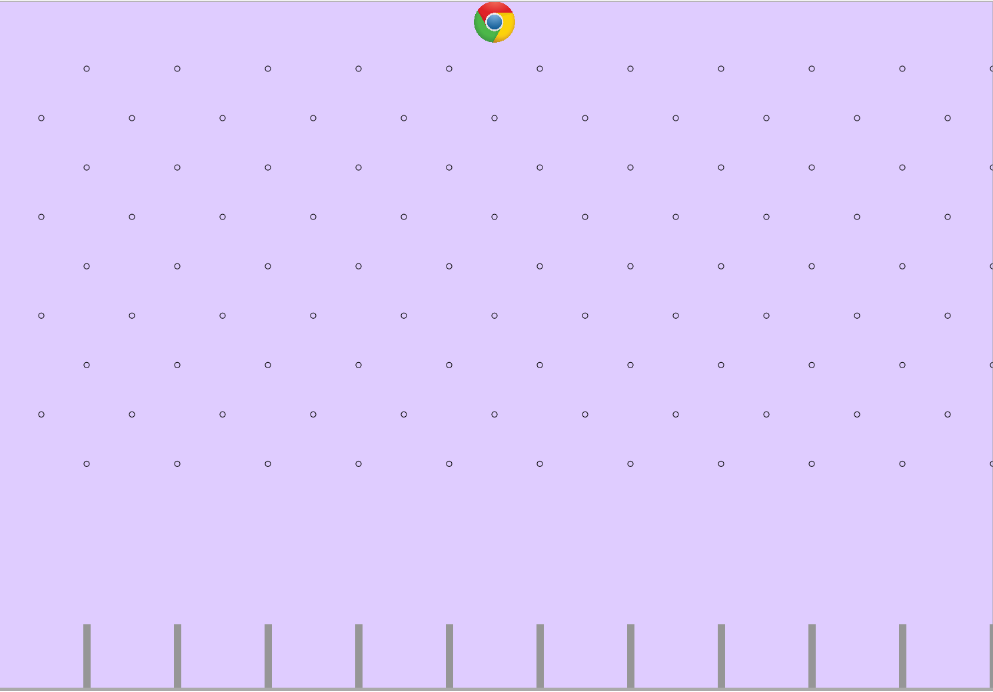
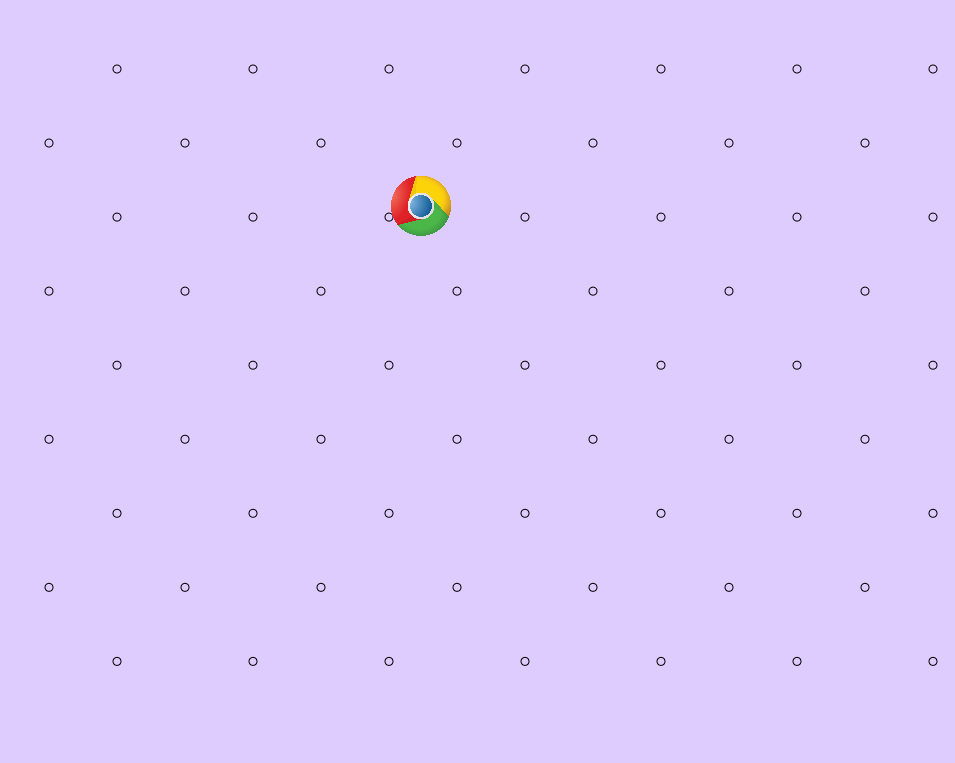
Ever seen The Price is Right? Plinko is one of the show's most popular games. In the physical game, the Plinko board is made up of a field of pegs, with each row offset from the previous row. At the bottom of the board are any number of slots marked with the different values. The player drops a disk from the top and it bounces off pegs until it lands in one of the slots in the bottom.
In the electronic version, the player controls the start position for the disk and presses a button to drop the puck. In our version, we used a javascript physics engine to simulate a real-world experience. The game is initiated by a controller (RPI or an iPad) and displays the game play on a 7’ x 4’ screen. We built a Plinko-style game using a Raspberry PI to control the location of the drop and to drop the puck. And we built a version of the controller that can use an iPad (connect to the same local network) to interact with the game. We separated the game from the controller and used web sockets to communicate between the two parts. The game runs on an express server. Here are the details.
The Application
The application is built in javascript from several libraries (see below). We used socket.io to connect the game and controller to the server. Socket.io provide near real-time communication between the controller and the server for the game. Our client had proposed using the iPad version to switch between other content (more cool stuff) but the rPI version would not support it.
Using the open source libraries:
- p5.js a JS client-side library for creating graphic and interactive experiences.
- p5.dom lets you interact with HTML5 objects beyond the canvas, including video, audio, webcam, input, and text.
- p5.sound extends p5 with Web Audio functionality including audio input, playback, analysis and synthesis.
(Check out p5 libraries here.)
- matter.js is a 2D physics engine for the web.
- socket.io-client is used to connect to the socket.io server running on express (see below).
Game Start
Bouncing off pegs with Matter.js
(Click here for great instruction on getting started.)
Building the Controller
For the iPad version, we built a simple webpage that used socket.io to control the left/right location and the drop of the puck.
Here's a basic webpage with 3 buttons:

The user can move the puck left or right (positioning is handled by p5.js setting the X position) to try and land in one of the better prizes. Once they hit “Click Me!” the puck begins to fall.
RPI Version
Creating the basic iPad version was pretty easy, but we wanted to go to the next level and make the game more tactile. That's where the fun began. We hooked up a simple Raspberry Pi to allow us to later add a start button and a joystick. Looking for buttons? Adafruit.com has some great options. You can see below we used simple buttons, but there are many more intricate choices.
Software
The RPI controller was written in C. Pressing the button sends a curl to the server as a POST with the name of the request and data. Each button has a Pull Up resistor so that when the button is not pressed there a logic state of “1” and when the button is being pressed there is a logic state of “0”. Pressing a button creates a falling edge and releasing a button creates a rising edge. (You can also achieve this using a Pull Down resistor. The logic states and edges will just be inverted.)
For the drop button, we need to know that when the button is pressed to send the information to the server. For the directions buttons, we need to know when the buttons are pressed and released. On press, the direction is to send to the server and the puck will move in that direction. When the button is released a stop signal is sent to the server to stop the puck's movement.
Posting to the Server
Since there is no C implementation of socket.io-client, we created a POST request handler on the server and send the requests with libcurl.
Node Controller
By making a node controller, we used socket.io to open a socket between the controller and the server like the iPad version. This way we don’t need to send POST requests so we can remove the post handler from the server.
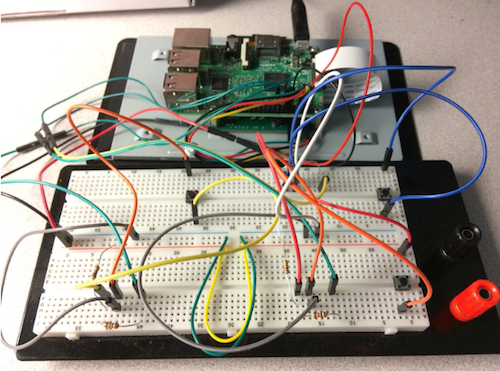
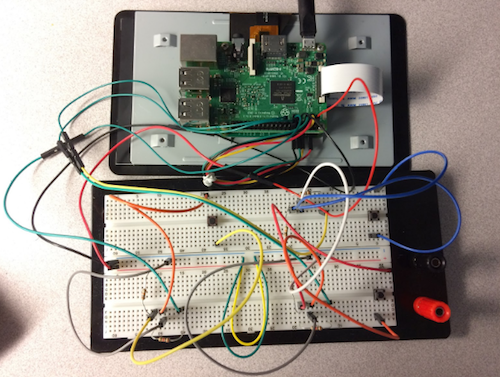
Integrating Raspberry Pi Hardware
We set up a Raspberry Pi 3b with Raspbian Jessie. We expected the controller to work on all rPi because wiringPi is compatible with all rPi. Below is diagram of the plan, schematic and the actual device.
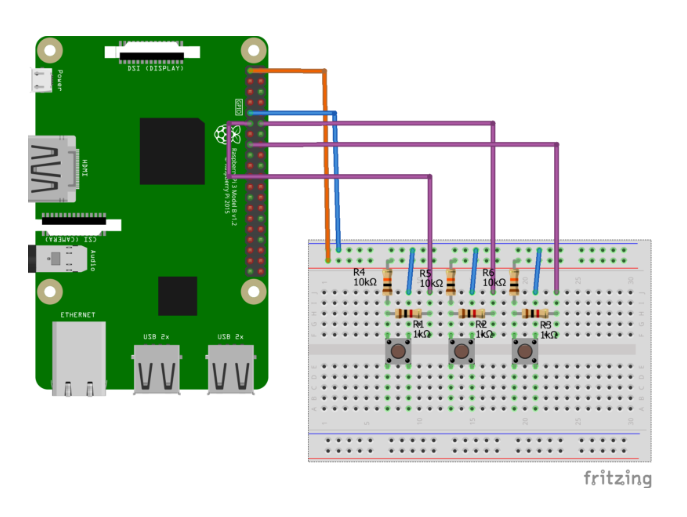

Designed using fritzing
Images of Fully implemented Raspberry Pi
Note: A screen was added for the development but it isn’t required, everything can be done by SSH.
Putting It All Together
We had a lot of fun building (and playing) our Plinko-style game. We hope reading about how we tackled this project compels you to find cool, new uses for your Raspberry Pi! To read more on gamification, click here.